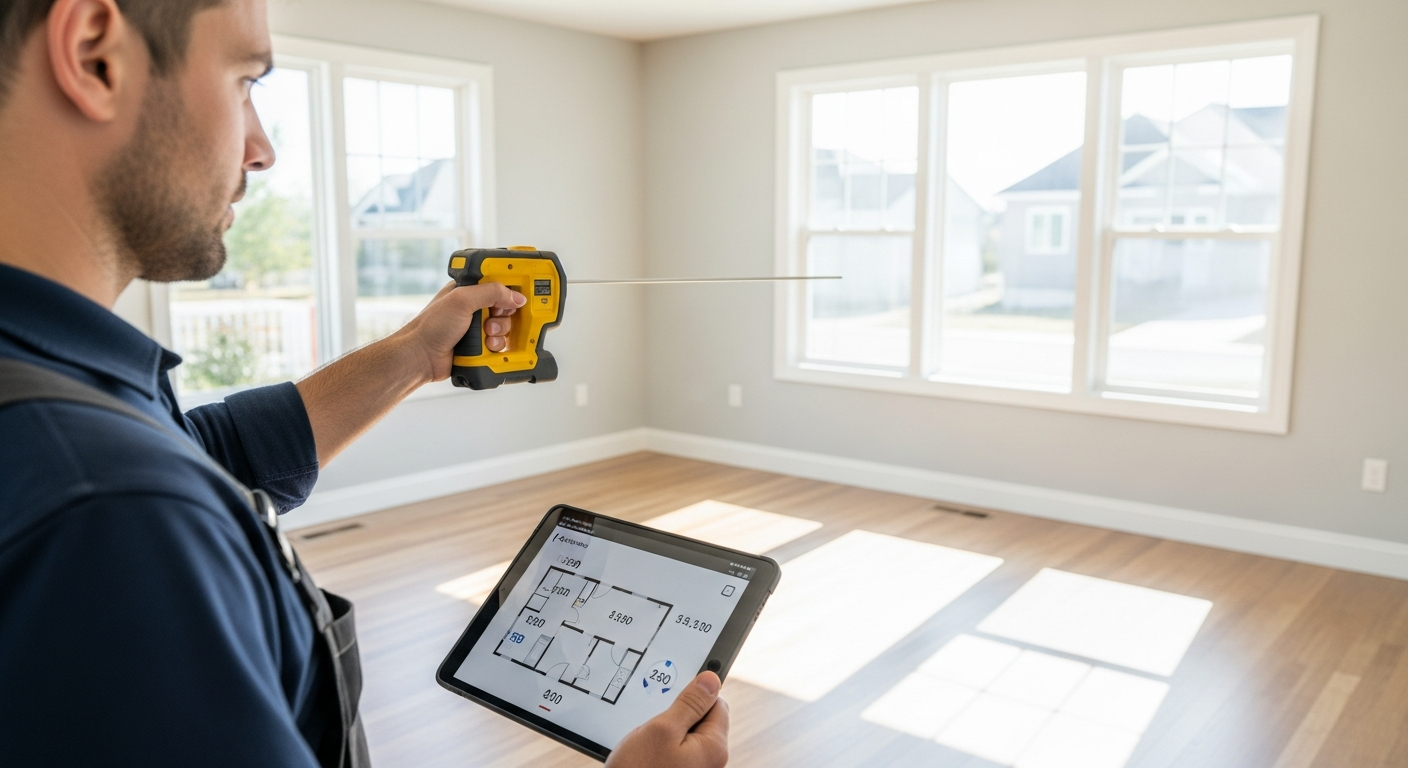
Stairs are one of the easiest parts of a building to mis-measure and one of the hardest parts to fix later in drafting. If you need to measure stairs for a floor plan, the goal is not just to count steps. You need enough field information to show where the stair starts and ends, how it connects between levels, how much space it occupies on each floor, and whether the geometry makes sense when it is drawn in plan, section, and elevation.
For homeowners, contractors, architects, and property managers, good stair measurements matter because stairs affect layout, circulation, code review, remodel feasibility, and usable area. In the as-built process, stairs also act as a key link between the lower and upper floor plans. FastAsBuilt measures buildings throughout California using on-site laser measurement, then our senior drafters produce permit-ready CAD files in PDF and DWG format. If you are trying to understand the field side of measuring a building before ordering plans, this guide walks through what to capture and what to avoid.
Why stair measurements matter on a floor plan
When stairs are drawn incorrectly, the error can spread through the whole set of plans. A stair opening that is too short can conflict with headroom. A landing placed in the wrong spot can shift doors or walls. A stair width measured finish-to-finish in one place and framing-to-framing in another can create confusion for design and permitting.
On a floor plan, stairs usually need to communicate several things at once:
- The exact location of the stair relative to walls, doors, and adjacent rooms
- The direction of travel from one level to another
- The total run and width of the stair
- The number of risers and treads
- The size and location of landings
- The outline of any floor opening above or below
If the project will support design, permit work, an ADU study, SB 9 planning, or tenant improvements, these details become especially important. A measured floor plan is not just a sketch of steps; it is part of the larger record of how the building exists today. If you want a wider overview of what as-built drawings are, it helps to think of stair measurement as one piece of documenting existing conditions accurately.
What to measure before you start counting steps
Before measuring the stair itself, establish the basic reference points around it. This makes the stair easier to place correctly on the floor plan and reduces mistakes when you translate field notes into CAD.
Start with the surrounding layout on the lower floor and upper floor. Measure the walls that define the stair enclosure, the nearby hallways, and the edges of any openings. If the stair is open on one or both sides, identify the faces you will use consistently for dimensions, such as finished wall face, guard centerline, or edge of finish.
- Overall room or hall dimensions around the stair
- Wall thicknesses at the stair enclosure
- Door locations near the stair and landing
- The position of the stair relative to exterior walls or major interior walls
- The floor opening size at the upper level
- The direction of stair travel
It is also smart to note whether the stair is straight, L-shaped, U-shaped, curved, winding, or split. Each type has different measurement needs. A straight run is the simplest. Winder and curved stairs require more points and more careful notation. In the field, this is part of the broader discipline of measuring a house for as-built drawings methodically rather than jumping to isolated details.
The core dimensions every stair needs
To measure stairs for a floor plan, capture the dimensions that define the stair horizontally and vertically. Even if your immediate goal is a 2D floor plan, vertical information matters because it confirms the geometry and helps explain the relationship between levels.
Overall width
Measure the clear width of the stair and note what you measured between. For example, finished wall to finished wall, wall to guard, or guard to guard. Consistency matters more than speed.
Total run
Measure the total horizontal distance occupied by each run of stairs. For a straight stair, this is the plan length from the first riser to the last riser, plus any landing dimensions if they are part of the stair footprint shown on plan.
Total rise
Measure floor-to-floor height if possible, not just the sum of visible risers. Floor-to-floor height helps confirm the riser count and supports section drafting.
Riser count and riser height
Count every riser carefully, including any riser that finishes at the upper floor. In many stairs, the upper floor acts as the last tread, which can confuse first-time measurers. Measure representative riser heights and note any variation.
Tread depth
Measure tread depth consistently, usually from nosing to nosing in the direction of travel. If the stair has closed risers, open risers, or unusual nosings, note that too.
Landings
Measure each landing width and depth, along with its orientation. In an L-shaped or U-shaped stair, landing geometry is critical to placing the next run correctly.
These measurements are the minimum baseline for dependable drafting. For a larger explanation of how field data becomes finished plans, see the as-built drawing process step by step.
Need accurate as-built plans?
FastAsBuilt sends a local crew to laser-measure your property and delivers permit-ready 2D or 3D drawings, starting at $900.
See 2D & 3D pricingHow to measure a straight stair on plan
A straight stair is the easiest type to document, but it still deserves a consistent sequence. Start at the bottom step and work upward while recording both the stair geometry and its location within the surrounding space.
- Measure the stair width
- Count the number of risers
- Measure several tread depths to confirm consistency
- Measure several riser heights if accessible
- Measure the total horizontal run
- Measure the lower and upper landing conditions
- Locate the stair by dimensioning to nearby walls
- Measure the upper floor opening if the stair passes through one
On your field sketch, draw an arrow showing “up” direction. This may sound basic, but it prevents one of the most common drafting errors: reversing the stair direction between levels. Also mark where the stair becomes open to above or passes under the upper floor.
If headroom is tight, low, or unusual, note where that occurs. A simple floor plan may not show all of that information by itself, but your drafter may need it for sections or permit coordination later. This is one reason professionals often combine stair measurements with a more complete existing-conditions survey rather than treating the stair as a standalone item.
How to measure L-shaped, U-shaped, and landing stairs
Stairs with turns require more than just step counts. The landing creates a break in the geometry, and each run must be measured independently and tied back to the landing. In plan view, a small mistake in the landing size can shift the upper run noticeably.
For an L-shaped stair:
- Measure the first run length and width
- Measure the landing size in both directions
- Measure the second run length and width
- Note the turning direction
- Locate the landing corners relative to nearby walls
For a U-shaped stair:
- Measure both runs separately
- Measure the intermediate landing precisely
- Note whether the runs are parallel and how far apart they are
- Measure the overall footprint of the stair enclosure
- Confirm the upper opening dimensions and alignment
In older California homes and multifamily buildings, you may find stairs that are not perfectly square. Walls can bow, plaster can thicken dimensions, and earlier remodels can create irregular offsets. In those cases, add diagonal checks or multiple control dimensions. Accuracy comes from verifying the geometry, not assuming the building is regular. If you are wondering about practical field precision, our article on how accurate as-built drawings are explains why cross-checking matters.
How to handle winders, curved stairs, and unusual conditions
Winders and curved stairs are more complex because tread depth changes across the width of the stair. A simple count of steps is not enough for useful drafting.
Winder stairs
For winders, record the number of tapered treads and sketch their approximate shape. Measure inner and outer widths of the turning segment, and take enough dimensions to define where the tread geometry changes. The goal is to let the drafter reconstruct the turn without guessing.
Curved stairs
For curved stairs, measure the overall stair width, inner and outer radii if they can be established, and the arc relationships to surrounding walls. Take several chord dimensions across the curve so the shape can be recreated more reliably in CAD. If the nearby walls are also curved, a dedicated approach like the one described in this curved wall measuring guide can help.
Irregular or older stairs
Some existing stairs do not follow modern standards or have been altered over time. You may find nonuniform risers, patched landings, or finish build-ups that changed dimensions. Do not average everything out in the field. Record what exists and flag visible irregularities.
This is especially important in remodels, historic properties, and older multifamily buildings. If a property is being evaluated under local preservation rules or a program like the Mills Act, existing stair conditions may affect design decisions. The best practice is to document actual conditions, then confirm any code or preservation implications with the local jurisdiction and design team.
Don’t forget headroom, railings, and what happens above and below
A stair on plan is not only about what touches the floor. You also need to understand what occupies the space above and below the stair. This is where many quick measurements fall short.
At minimum, look for these conditions:
- Low soffits or sloped undersides above the lower steps
- Open-to-below or open-to-above conditions
- Guards, handrails, and guard returns that affect clear width
- Doors swinging into stair landings
- Storage, closets, or built-ins below stairs
- Sloped ceilings adjacent to upper stair areas
If the stair rises into an attic conversion, loft, or upper level with unusual ceiling shapes, note that carefully. Measuring those ceiling transitions may require the same discipline used for measuring sloped and vaulted ceilings. Even when the deliverable is a floor plan, these notes help avoid drafting assumptions that later conflict with design intent or permit review.
For California permit work, stair geometry often ties into safety and code review, but exact requirements vary by jurisdiction and project type. If your project involves a new unit under AB 1033, an ADU-related layout change, SB 1211 considerations, or a lot split and development analysis under SB 9, existing stair information can affect feasibility. For multifamily and condo properties, building maintenance and inspection frameworks such as SB 721 and SB 326 may also intersect with existing access and structural conditions, depending on the scope of work. FastAsBuilt documents what exists; your architect, engineer, or local building department should confirm the applicable code path.
Field tips that make stair measurements more accurate
Good stair measurement is mostly about discipline. The tools matter, but the process matters more. FastAsBuilt uses on-site laser measurement in California properties, which is much faster and more dependable than relying on pacing or rough tape-only sketches for complex conditions.
Here are practical ways to improve your results:
- Use one consistent datum face for dimensions whenever possible
- Sketch first, then fill in dimensions clearly
- Count risers twice from opposite directions
- Measure representative treads and verify if they repeat
- Take photos from top, bottom, and side views
- Mark “up” direction clearly on every stair sketch
- Record ceiling and opening conditions at the same time
- Add check dimensions across the enclosure
If you are curious about equipment, our overview of tools used to measure as-built drawings explains the role of laser devices and field verification. For larger homes or commercial spaces, it is also important to know whether every area must be accessible during the visit. That depends on the project, but generally the more complete the access, the better the final stair and floor plan coordination will be.
How stair measurements fit into the as-built process
In professional as-builts, stair dimensions are not drafted in isolation. They are coordinated with room dimensions, wall thicknesses, floor openings, ceiling notes, and level changes across the whole building. That coordination is what turns field notes into plans you can actually use.
FastAsBuilt’s standard workflow is straightforward:
- We visit the site and perform laser-based field measurement
- We document the stair along with the surrounding building conditions
- Senior drafters convert the field data into permit-ready CAD files
- You receive PDF and DWG deliverables
For 2D As-Built Plans, pricing starts at $900 for up to 1,500 square feet, then $0.50 per square foot, and includes one revision with typical delivery in 48–72 hours. For 3D As-Built Plans, pricing starts at $1,500, then $1.00 per square foot, and includes a 3D model plus 2D floor plans, elevations, and sections, with two revisions and typical delivery in 3–5 business days. Commercial projects, ADUs, SB 9 studies, and tenant improvements are quoted individually.
Turnaround times are estimates and may vary based on project complexity and scheduling.
If your project may move into permit submittal, it can also help to read more about as-built drawings for building permit requirements at a general level. And if you are ready to move from research to scheduling, you can review options on our packages page.
Frequently asked questions
Do you measure stairs differently for a floor plan versus a section?
The core field data overlaps, but sections need stronger vertical information. For a floor plan, you primarily need width, run, landings, location, and direction of travel. For a section, floor-to-floor height, riser pattern, headroom, and the underside of the stair become much more important. A thorough as-built process captures both so the drafter does not have to guess later.
Is counting steps enough to measure stairs for a floor plan?
No. Step count alone does not tell you stair width, total run, landing size, floor opening dimensions, or exact location within the building. It also does not confirm whether the geometry makes sense between levels. To measure stairs for a floor plan properly, you need both the stair dimensions and the surrounding reference dimensions.
What is the most common mistake when measuring existing stairs?
The most common mistake is failing to tie the stair back to the rest of the floor plan. People often measure the steps themselves but forget the enclosure, adjacent walls, upper opening, or direction of travel. Another frequent issue is inconsistent measurement points, such as switching between finish faces and structural faces without noting the change.
Can laser measurement improve stair accuracy?
Yes. Laser measurement helps capture enclosure sizes, run lengths, opening dimensions, and surrounding room geometry more efficiently and with less risk of transcription error. It does not remove the need for good field judgment, especially on winders or curved stairs, but it supports a more reliable as-built process overall.
When should you hire a professional to measure a stair?
If the plans will be used for design, permit work, contractor pricing, property documentation, or a remodel with tight existing conditions, professional measurement is usually worth it. It is especially helpful when the stair is irregular, the property is older, the layout is complex, or the project depends on accurate existing dimensions for California permitting and planning.
Start with accurate as-builts
Order field-measured 2D or 3D as-built drawings and let a local crew handle the measuring and drafting.
Get instant pricingBottom line
To measure stairs for a floor plan well, capture more than the steps: measure width, run, rise, landings, surrounding walls, floor openings, and any overhead or under-stair conditions that affect how the stair actually fits the building. In the as-built process, those details are what let a drafter produce clear, permit-ready drawings instead of making assumptions. If you need measured floor plans anywhere in Los Angeles, Orange County, the Inland Empire, the Bay Area, or San Diego, FastAsBuilt provides field-measured as-built drawings across California with fast turnaround and CAD deliverables you can use.