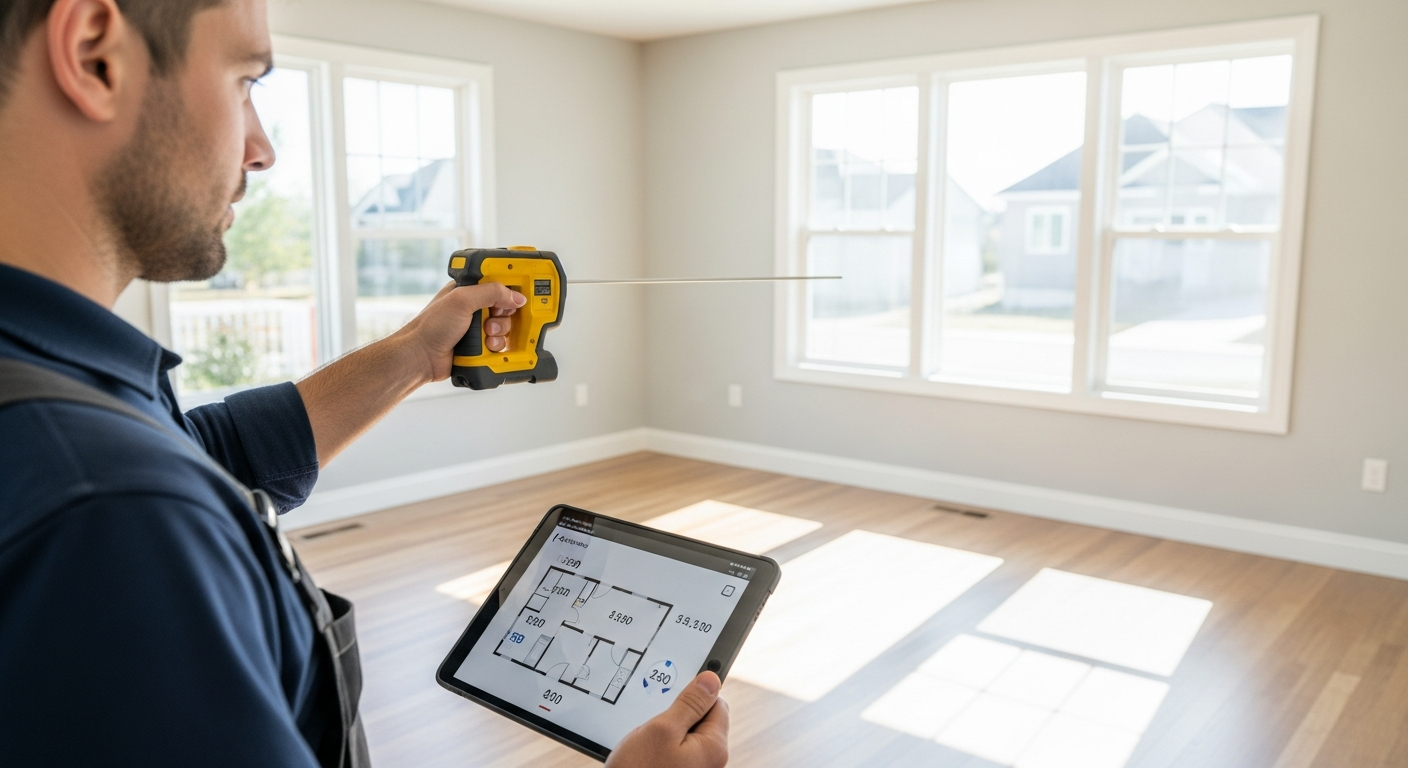
Curved walls look elegant in person, but they are one of the easiest features to misread when you are creating a floor plan. A straight wall can be checked with a single dimension line. A curve needs a method. If you want to measure curved walls floor plan work accurately, you need enough field data to define the shape, place it correctly in the room, and show the curve in a way that is useful for design and permits.
At FastAsBuilt, we handle this as part of the normal as-built process across California. Our crews take on-site laser measurements, and our senior drafters turn that field data into permit-ready CAD files in PDF and DWG format. Whether the curved wall is part of a custom home in Los Angeles, a remodel in Orange County, a tenant improvement in the Bay Area, or an older property in San Diego, the goal is the same: measure the actual condition in the field and draft it so the curve is clear, dependable, and buildable.
Why curved walls are harder than straight walls
A curved wall is not just a wall with a different look. It changes how you collect dimensions, how you verify room geometry, and how you draft the plan. If you only measure the widest point and the endpoints, you may know that a curve exists, but you still may not know its true shape. A shallow arc, a tight radius, and an irregular field-built curve can all have similar overall widths while being very different in reality.
That matters because curved walls affect more than appearance. They influence:
- Room area calculations
- Door and window placement
- Cabinet and millwork layouts
- Furniture planning
- Structural or framing assumptions during remodels
- Permit drawing clarity
In many California remodels, especially additions and custom homes, curved walls were framed or finished by hand and may not be mathematically perfect. That means measuring a building with curved elements often requires more checkpoints than you would use on a square room. If you are new to as-builts, it helps to review what as-built drawings are before getting into special cases like arcs and radius walls.
What a drafter actually needs to draw a curved wall
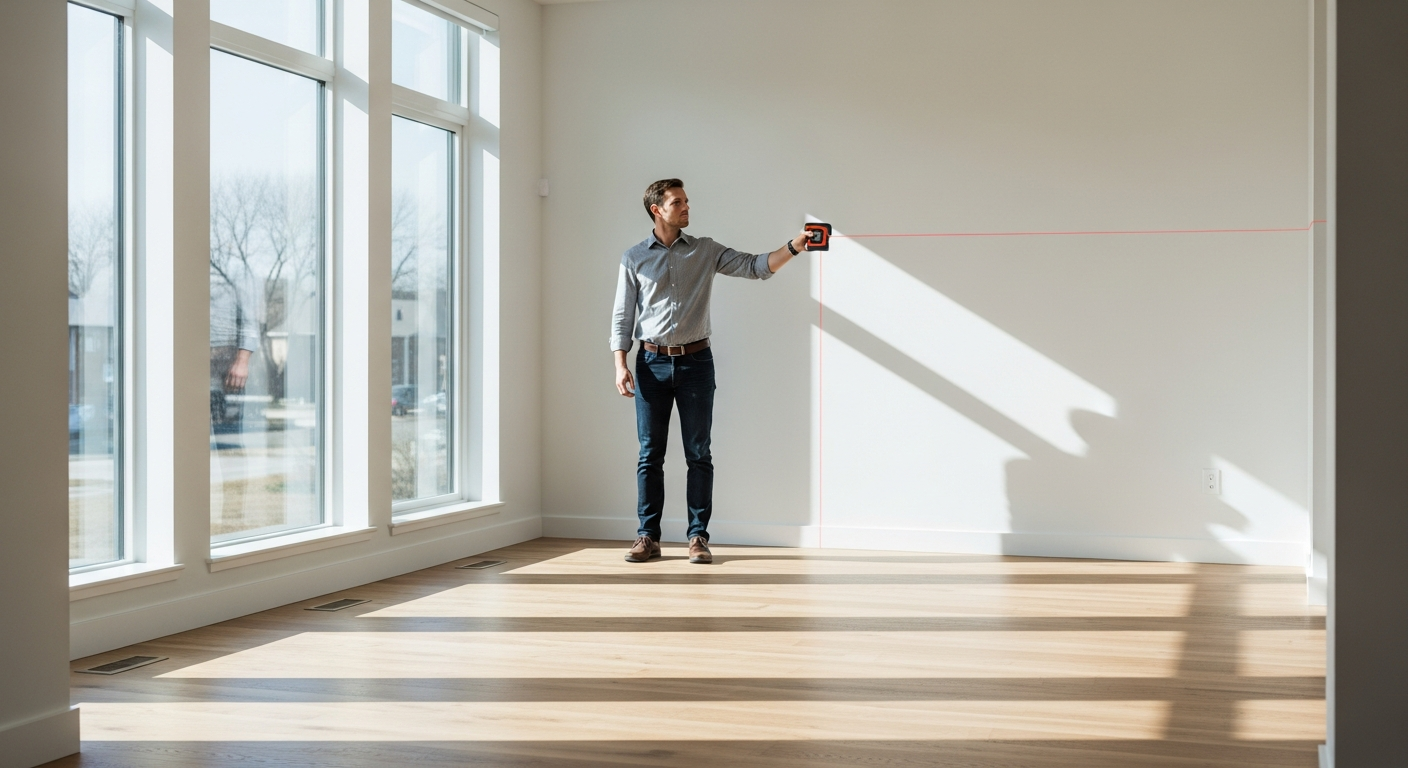
To draw a curve accurately, a drafter needs more than a note that says “curved wall.” The field team must capture enough information to recreate the wall in CAD. In simple terms, that usually means identifying the curve’s start and end points, its position relative to other known walls, and enough intermediate measurements to define the arc.
Depending on the wall and the intended use of the plan, the drafter may need:
- The endpoints of the curve
- The chord length, which is the straight-line distance from one end of the curve to the other
- The depth of the arc at its midpoint, often called the rise or sagitta
- Several offset measurements from a straight baseline to points along the curve
- Control dimensions tying the curve back to nearby straight walls or column lines
- Thickness of the wall at multiple points if the inside and outside faces are both curved
In some cases, a true radius can be identified. In others, the wall was built in a way that produces a slightly irregular curve, and the best representation is a smooth best-fit arc based on measured points. This is one reason the field and drafting sides of the as-built process need to work together closely. The measurement method should match the level of precision the drawing needs. For a general overview, see the as-built drawing process step by step.
The most practical field methods for curved walls
There is no single universal method for every curved wall. The best approach depends on access, wall length, room shape, and how exact the final drawing must be. In most homes and commercial interiors, the most practical methods are based on baselines, offsets, and laser verification.
1. Baseline and offset method
This is often the clearest manual method. First, establish a straight reference line between the two ends of the curve or along a nearby straight wall. Then measure perpendicular offsets from that baseline to the curved wall at regular intervals. The tighter the curve, the more points you typically need.
This method works well because it converts a complex shape into a series of simple dimensions. In CAD, those offset points can be plotted and used to create a smooth curve.
2. Chord and midpoint method
If the wall appears to be a regular arc, measure the straight distance between the two endpoints and then measure the maximum distance from that chord to the wall at the midpoint. This can help define a radius arc quickly. It is efficient, but it assumes the wall is relatively consistent and symmetric.
3. Triangulation from known corners
When there is no good baseline directly across the curve, the field team can locate multiple points along the wall by measuring to those points from known room corners or other fixed references. This is especially useful in crowded spaces or rooms with built-ins.
4. Laser measurement with multiple control points
At FastAsBuilt, on-site laser measurement is central to the process. For curved walls, laser measurements are used to tie endpoints and intermediate points into the overall room geometry. The value is not just speed. It is the ability to anchor the curve to the rest of the measured plan so the shape and placement are both correct.
If you want a broader sense of the tools involved in measuring a building, see what tools are used to measure as-built drawings.
Need accurate as-built plans?
FastAsBuilt sends a local crew to laser-measure your property and delivers permit-ready 2D or 3D drawings, starting at $900.
See 2D & 3D pricingHow many points should you measure along a curve?
This is one of the most common practical questions. There is no fixed number that works for every wall. The right number of points depends on the wall’s length, how tight the curvature is, and what the plans will be used for. A gentle bow across a long wall may need fewer points than a short wall with a dramatic radius.
A good rule in practice is to take enough points that the curve can be reconstructed confidently instead of guessed. That usually means:
- At minimum, both endpoints and one midpoint check
- For simple arcs, several evenly spaced offsets
- For tighter or irregular curves, more frequent offsets and additional control measurements
- Extra points near doors, windows, columns, or transitions where geometry changes
Under-measuring is a common problem. A field sketch may show a clean, elegant curve, but if only a few dimensions support it, the drafter has to interpret too much. That introduces uncertainty. In permit or construction work, interpretation should be minimized.
Over-measuring is usually safer than under-measuring, especially on unusual architecture. The time spent capturing a few more checks in the field is far less than the time lost if the curve has to be revisited later.
How to place a curved wall correctly on a floor plan
Measuring the shape of the curve is only half the task. You also have to locate it within the room. A beautifully measured arc is still wrong if it is shifted by a few inches relative to surrounding walls, openings, or structural elements.
To place the wall properly, tie it back to fixed references. Those references can include:
- Nearby straight walls
- Exterior wall faces
- Column centers
- Grid lines, if available
- Door opening centers or jambs
- Major corners in adjacent rooms
For example, if a curved interior wall sits inside a larger rectangular room, the field team should measure from the room’s straight walls to each endpoint of the curve, and often to one or more intermediate points as well. This lets the drafter confirm not just the geometry of the curve, but its exact position and orientation.
When people ask about accuracy, this is often the hidden issue. The curve itself may be drafted smoothly, but if it is not anchored to the building correctly, the floor plan still fails. You can read more about expected precision in how accurate as-built drawings are.
Special cases: bay windows, circular rooms, and freeform curves
Not every curved wall is the same type of geometry. Some are close to a true radius. Others are a series of short facets hidden by drywall or finish. The measuring method should reflect what is actually there.
Bay windows and bowed walls
Bay and bow conditions often look curved from a distance, but they may be made from several angled segments rather than a continuous arc. This distinction matters. The field team should determine whether the surface is genuinely curved or composed of small straight runs. If it is segmented, the floor plan should typically show those segments instead of forcing them into a single arc.
Circular rooms or curved stair halls
For rooms that are largely circular or partly circular, center point logic becomes more useful. The team may identify a likely center and verify multiple radiating dimensions, but only if the field conditions support that interpretation. The aim is still to verify with measured points, not assumptions.
Freeform or irregular feature walls
Some custom interiors use decorative curves that are not true arcs. In those cases, measuring several points along the face is usually better than trying to force the wall into a radius. The CAD result may be a spline or a best-fit curve rather than a perfect arc. For a floor plan used in design or permit coordination, that is often the most honest representation of the existing condition.
This distinction is important in California renovation work, where older homes and one-off custom builds often include details that differ from original drawings. Existing conditions should always control the as-built drawing, not the other way around.
Common mistakes when you measure curved walls floor plan work
Most errors happen because the curve is treated like a special note instead of a measurable building element. A few mistakes show up repeatedly in field work and drafting reviews.
- Taking only endpoint dimensions. This confirms location, not shape.
- Assuming symmetry. A wall that looks centered may not be.
- Using too few checkpoints. The drafter ends up estimating the arc.
- Failing to tie the curve to the room. The wall shape may be right, but its placement may be off.
- Ignoring wall thickness changes. Finish build-up can make inside and outside faces behave differently.
- Forcing an irregular wall into a perfect radius. This can make cabinetry, glazing, or layout work fail later.
- Skipping verification after drafting. Curves should be checked against the full field geometry before final delivery.
One of the simplest ways to avoid these issues is to think in terms of control. Every curve should have enough measured control points that another qualified person could reproduce it without guessing. That is a useful standard for any measured floor plan.
How curved walls are translated into permit-ready CAD drawings
Once field measurements are complete, the drafting phase begins. This is where experienced drafters matter. Curved walls are not just sketched in to look right. They are plotted from measured information, checked against adjacent geometry, and then documented clearly in the final drawing set.
At FastAsBuilt, senior drafters create permit-ready CAD files in PDF and DWG format from the field measurements. Depending on the project, the curve may appear in:
- 2D floor plans
- Exterior elevations
- Interior elevations
- Building sections
- 3D model views for more complex conditions
For some projects, 2D plans are enough. FastAsBuilt 2D As-Built Plans start at $900 for up to 1,500 square feet, then $0.50 per square foot, include 1 revision, and typically deliver in 48 to 72 hours. For more complex geometry, 3D As-Built Plans start at $1,500, then $1.00 per square foot, and include a 3D model plus 2D floor plans, elevations, and sections, with 2 revisions and typical delivery in 3 to 5 business days. Custom projects such as commercial spaces, ADUs, SB 9 work, and tenant improvements are quoted individually.
Turnaround times are estimates and may vary based on project complexity and scheduling.
If you are comparing scopes, pricing, and outputs, as-built drawings cost in California gives helpful context, and you can also review options on our packages page.
When curved walls matter most in California projects
In some projects, a small drafting error on a curved wall is mostly cosmetic. In others, it can affect design decisions, permit coordination, fabrication, and budgeting. Curved walls matter most when they interact with scope that depends on exact fit.
Examples include:
- Kitchen and bath remodels with custom millwork
- Window or glazing replacements in curved openings
- ADU and addition planning where area and setbacks must be shown clearly
- Tenant improvements in commercial spaces with curved demising or feature walls
- Historic or character homes where existing geometry should be documented faithfully
California projects often bring extra layers of review, from local planning expectations to energy documentation under Title 24. While Title 24 is mainly about energy compliance rather than curved wall measurement itself, accurate existing drawings help the design team work from reliable information. For any permit path, it is wise to confirm exact local submittal requirements with the city or county having jurisdiction.
Likewise, if your project touches local rules or state frameworks such as SB 9, or involves older buildings subject to historic treatment considerations such as the Mills Act, measured existing conditions are a good starting point, but the project team should confirm the governing requirements with the appropriate jurisdiction and consultants.
How to prepare for an as-built survey when your building has curves
You do not need to solve the geometry yourself before scheduling a survey. But a little preparation helps the field team move faster and capture cleaner data. If you know the property has curved walls, circular rooms, bowed windows, or unusual transitions, mention that when you request a quote.
Before the visit, it helps to:
- Provide the address and approximate square footage
- Share any existing plans, even if they may be outdated
- Note any areas with limited access or heavy furniture
- Identify whether the plans are for design only or for permit use
- Mention any curved exterior walls, rotundas, stair halls, or custom millwork zones
It also helps to make as much of the space accessible as possible. Curved walls are harder to capture if furniture blocks the face of the wall or if large decor elements interrupt measurement points. If you are wondering what we need before the job begins, see what information you need to provide for as-builts. If access is a concern, whether you need access to the whole house for measurements explains how site conditions affect the survey.
Frequently asked questions
Can you measure a curved wall with just one radius dimension?
Sometimes, but only if the wall is truly a regular arc and the field measurements confirm that condition. In many real buildings, especially remodels and older homes, the curve is not perfect enough to rely on a single radius assumption. Multiple measured points are usually safer.
Do curved walls require 3D as-builts?
Not always. Many curved walls can be documented well in 2D floor plans, especially if the project mainly needs plan geometry. A 3D as-built can be helpful when the curve interacts with elevations, sections, ceilings, or other complex features. The right scope depends on how the drawings will be used.
What is the best way to measure curved walls for a floor plan?
The best method is usually a combination of a straight baseline, multiple offset measurements, and laser-based control dimensions tied back to known walls or corners. The exact method depends on the wall shape and the level of precision needed for design or permit use.
How accurate do curved wall measurements need to be for permits?
Permit drawings should reflect existing conditions clearly enough for the local jurisdiction and design team to rely on them. The exact standard can vary by project and city, so it is best to confirm expectations with the local jurisdiction. In practice, curved walls should be measured with enough control points that the drafted condition is defensible and not based on guesswork.
How long does it take to get as-built plans with curved walls?
Curved walls can add drafting time if the geometry is complex, but they do not automatically make the process slow. FastAsBuilt typically delivers 2D As-Built Plans in 48 to 72 hours and 3D As-Built Plans in 3 to 5 business days, depending on scope. For timing details, see how long it takes to get as-built plans back.
Turnaround times are estimates and may vary based on project complexity and scheduling.
Start with accurate as-builts
Order field-measured 2D or 3D as-built drawings and let a local crew handle the measuring and drafting.
Get instant pricingBottom line
To measure curved walls floor plan work correctly, you need a repeatable method: establish control, capture enough points to define the shape, tie the curve to the rest of the building, and draft it from field data rather than assumptions. FastAsBuilt measures existing conditions on-site across California using laser measurement and produces permit-ready CAD files in PDF and DWG format, so curved walls, circular rooms, and other nonstandard geometry are documented clearly and usefully from the start.