Accurate as-built drawings do not come from old paperwork or educated guesses — they are built from real measurements taken on site and drafted by professionals. Understanding the process helps you know what to expect, why accuracy matters, and how a building goes from physical space to permit-ready CAD file. Here is the full workflow, step by step.
Step 1: The on-site measurement
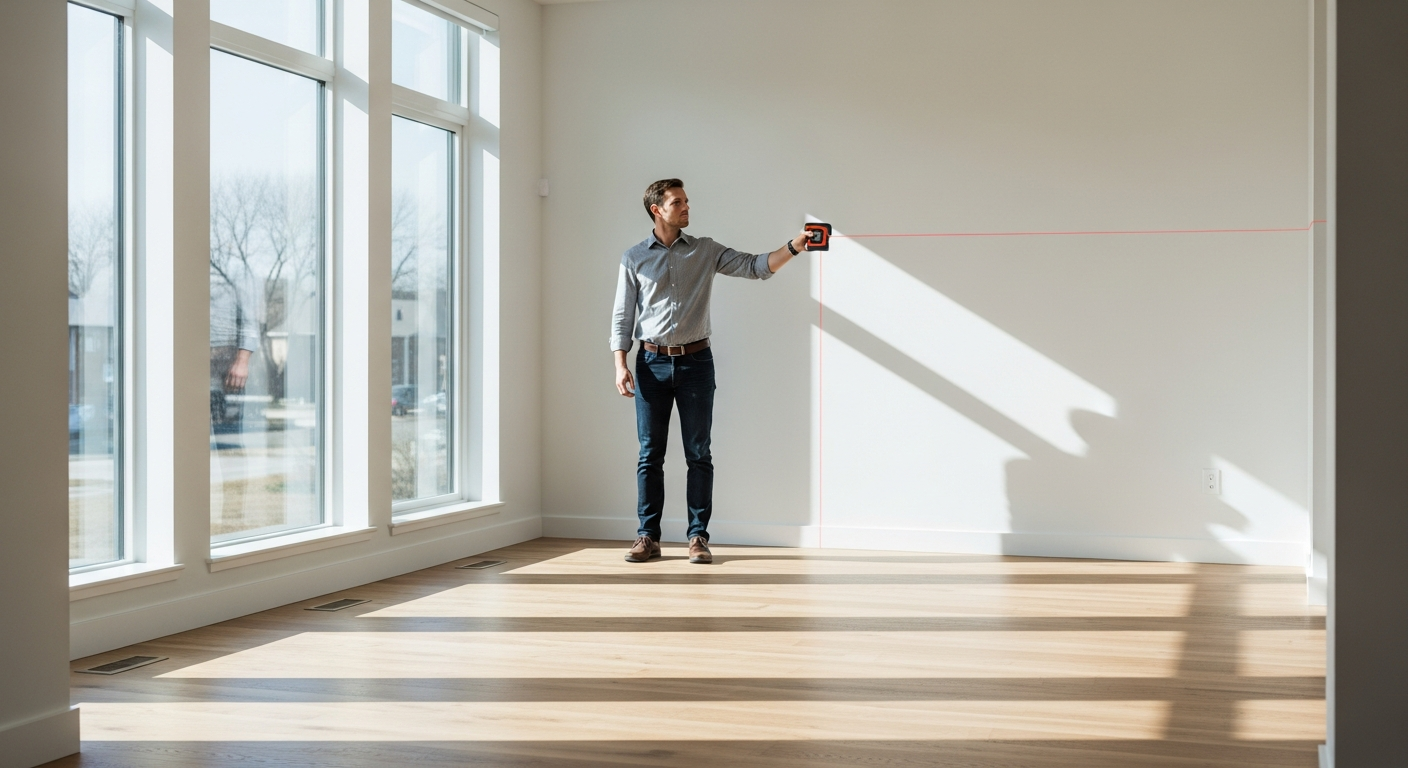
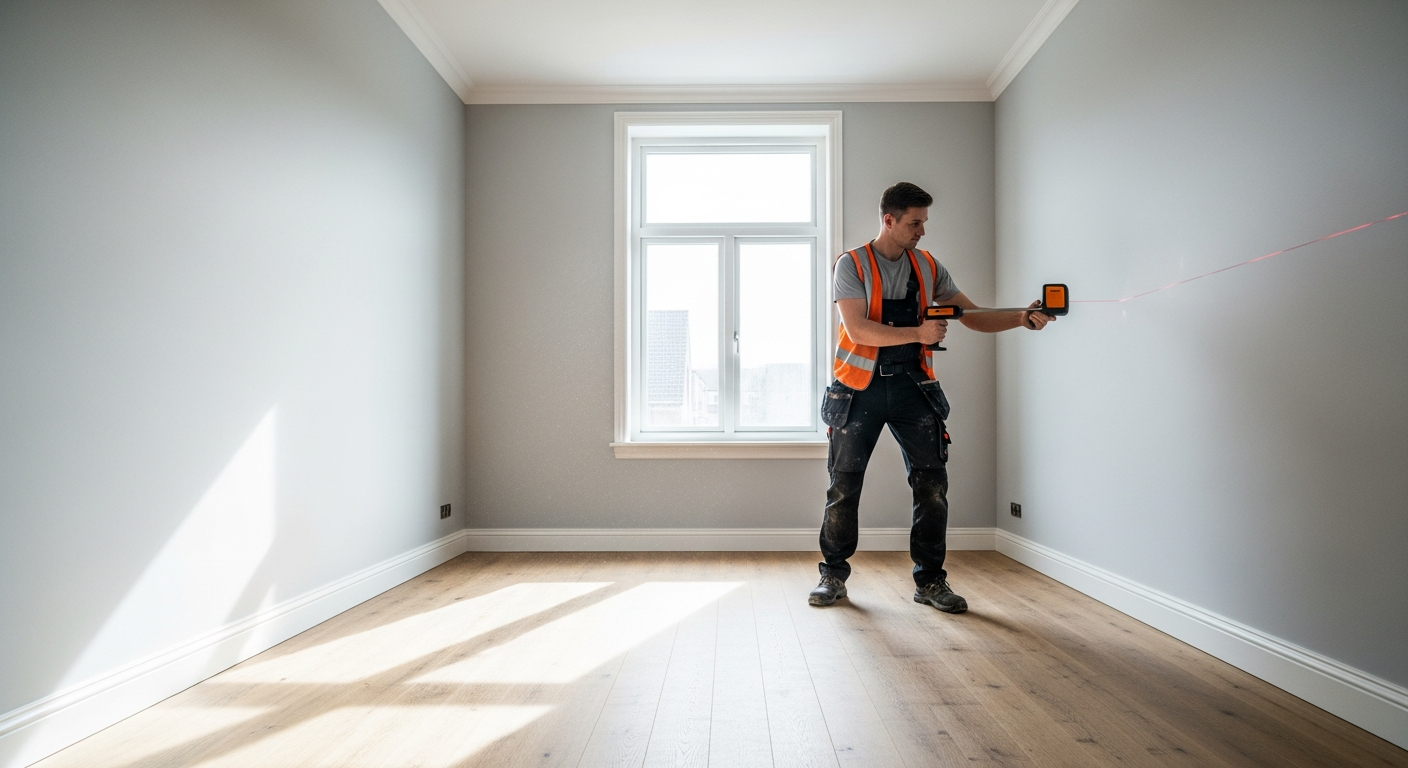
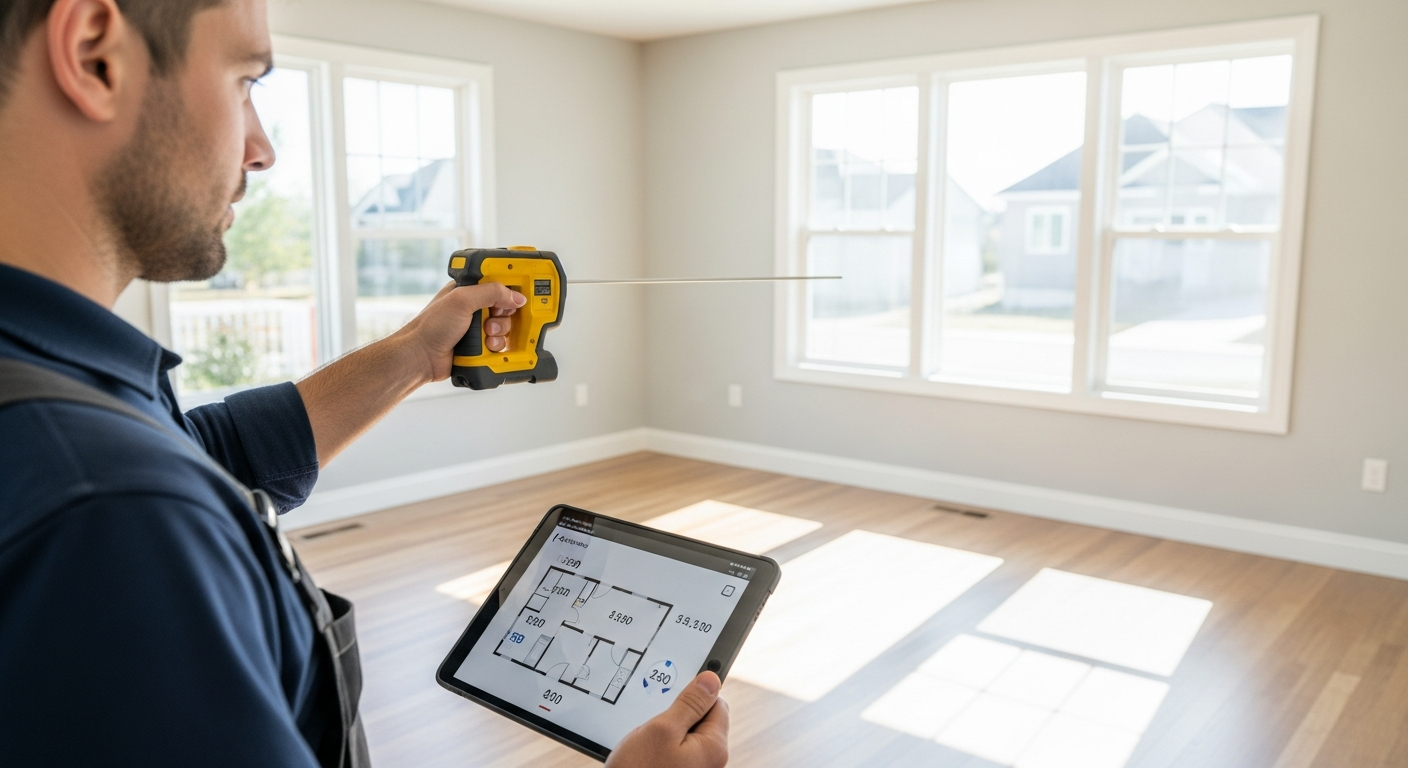
Everything begins with a field visit. A trained technician comes to your property and systematically captures its dimensions. For most residential work this is done with a laser distance measurer, which is fast and accurate to a fraction of an inch.
The technician records:
- Room dimensions and how spaces connect.
- Wall thicknesses and locations.
- Window and door sizes, positions, and swing directions.
- Ceiling heights and notable structural features.
- Fixture and appliance locations.
- Exterior dimensions and, when needed, the site.
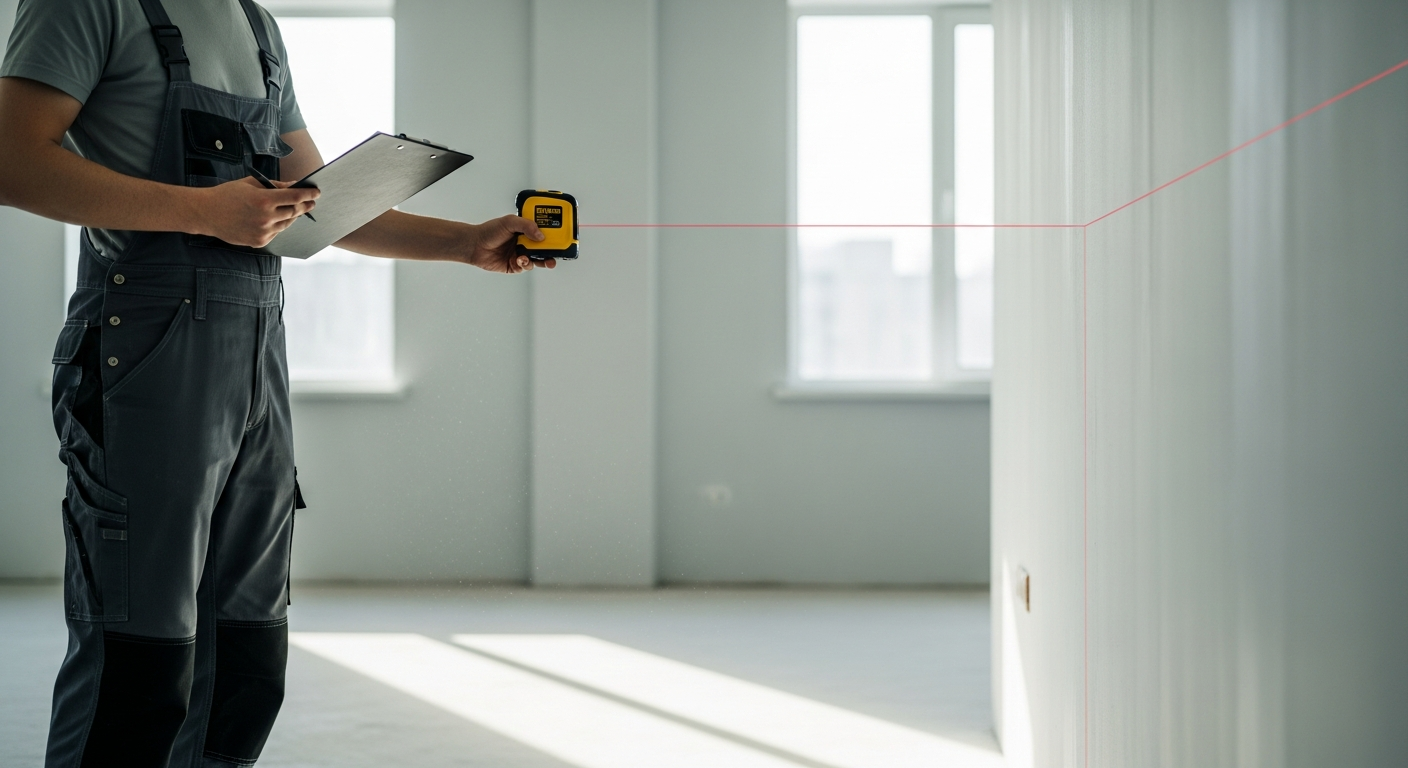
A little preparation helps this go smoothly — clear access to rooms, closets, and utility spaces means nothing gets missed. Most residential visits take one to three hours depending on square footage.
The tools of the trade
Different jobs call for different instruments, and a good crew brings the right mix:
- Laser distance meters — the workhorse for room-by-room measurement, accurate to a fraction of an inch.
- 3D laser scanners — tripod-mounted units that capture entire spaces as dense point clouds for complex or large properties.
- Traditional tape and level — still useful for spot checks and short dimensions.
- Digital field sketches and photos — reference notes that keep the drafting phase accurate.
Step 2: 3D laser scanning (for complex projects)
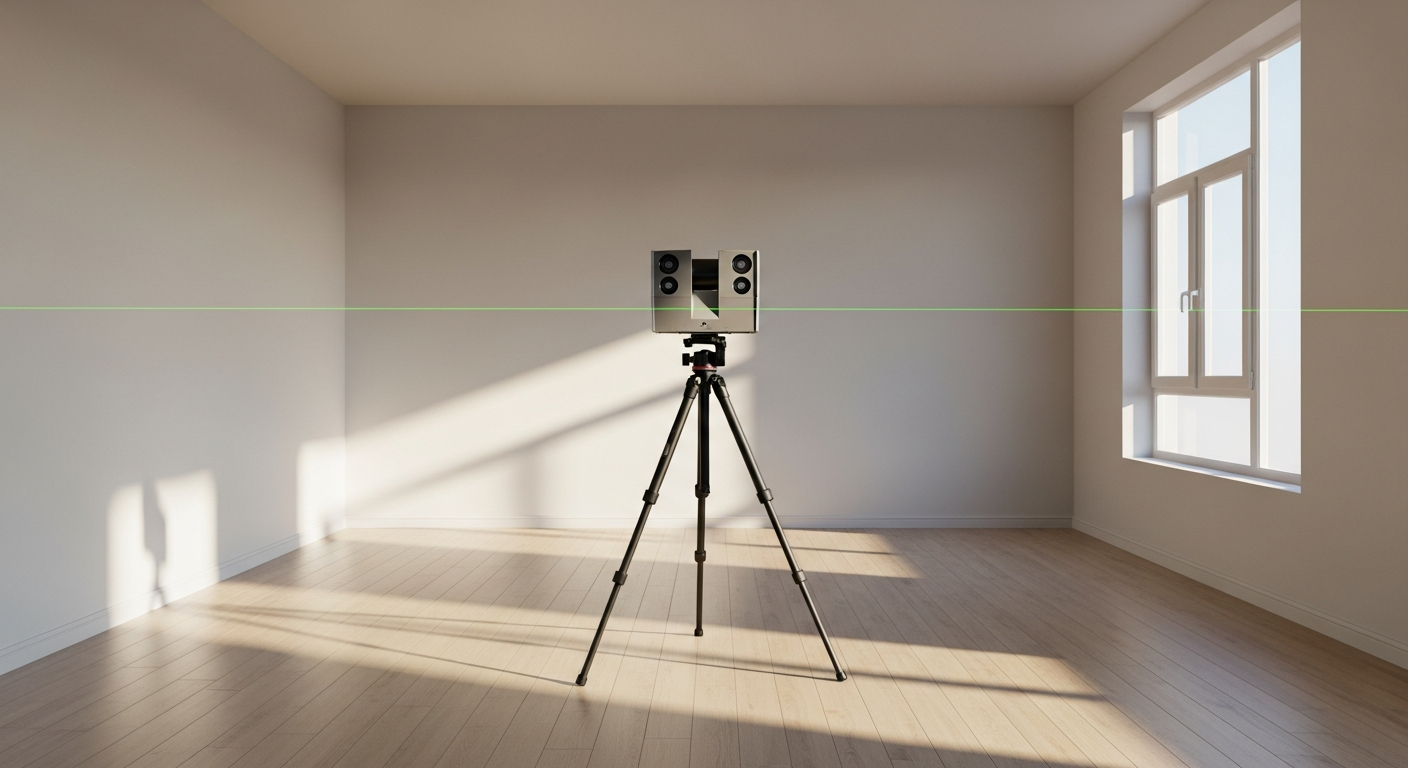
For larger or more complex properties — or when a full 3D model is the deliverable — technicians use 3D laser scanning. A scanner on a tripod captures millions of measurement points to create a highly accurate “point cloud” of the space. This is ideal for irregular layouts, historic buildings, vaulted ceilings, and commercial work where manual measurement would be slow or error-prone.
Want to see the process on your property?
Book a local crew and get field-verified as-built drawings, delivered fast.
Get instant pricingWhat the technician documents, room by room
Good field work is systematic. In each space, the technician typically captures the overall length and width, then the location of every opening, the swing of each door, window sizes and sill heights, ceiling height, and the position of fixtures and built-ins. In kitchens and bathrooms, plumbing fixtures and cabinet runs are documented carefully because those spaces drive so much remodel design. Exterior work adds building footprint dimensions, wall heights, roof lines, and site features.
Handling difficult conditions
Real properties are rarely simple. Experienced crews know how to handle the tricky parts: measuring around furniture in occupied homes, documenting attics and crawlspaces safely, capturing tall or vaulted ceilings, and dealing with additions that do not sit square to the original structure. When an area genuinely cannot be accessed — a locked room or an unsafe space — it is noted on the drawings rather than guessed at, so everyone knows exactly what was and was not verified.
Step 3: Drafting the field data into CAD
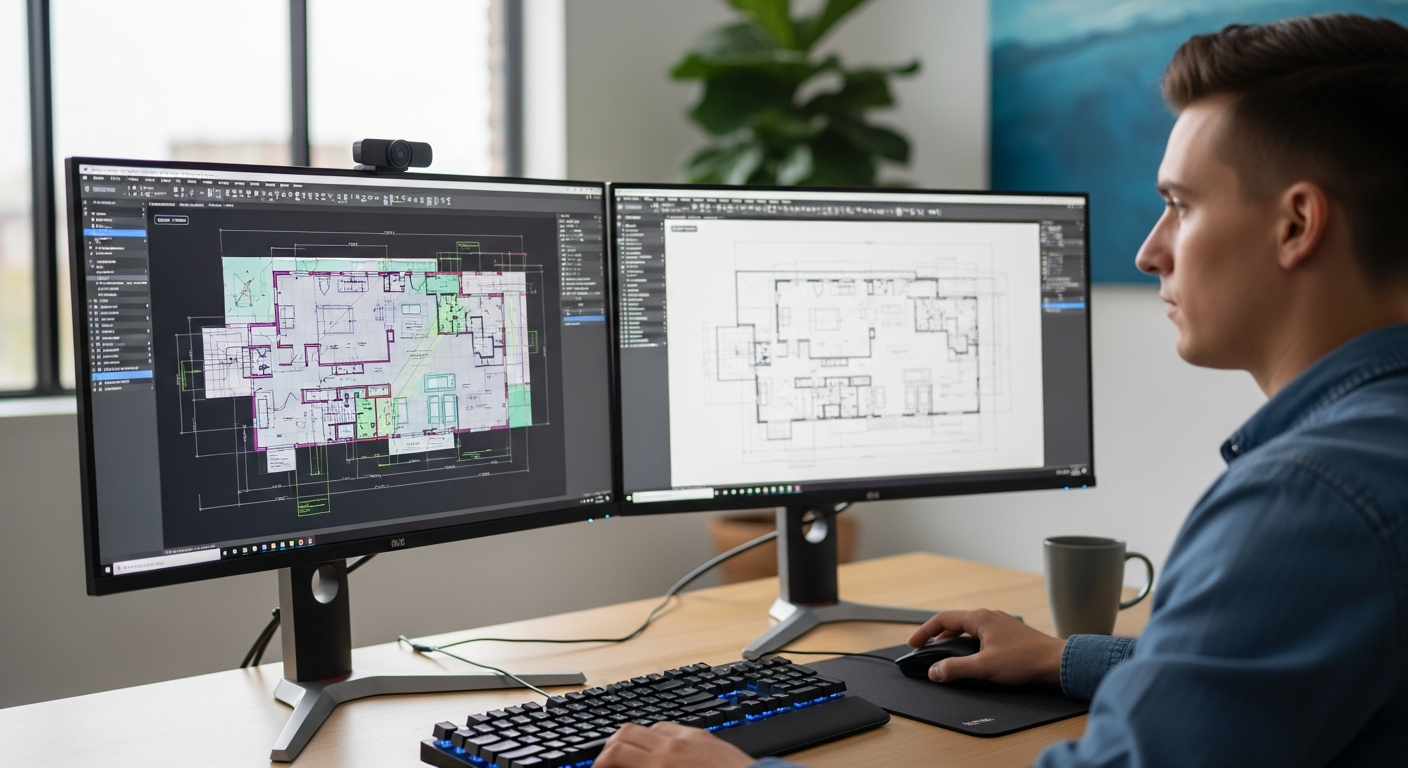
Raw measurements and scan data are then handed to senior drafters, who translate them into clean, scaled CAD drawings. This is where the craft lives: organizing the data into properly layered, dimensioned floor plans, elevations, and sections that read clearly and meet drafting standards.
Good drafting is not just retyping numbers — it is producing drawings that a designer can build on and a plan checker can read without confusion. From a 3D scan, drafters trace the point cloud to produce accurate plans and models; from manual measurements, they reconstruct the geometry from the field notes and check that everything closes correctly.
Step 4: Quality control
Before anything is delivered, the drawings are checked against the field data for consistency and completeness. Drafters verify that dimensions add up, that overall measurements match the sum of their parts, and that nothing was omitted. Any areas that could not be accessed on site are noted. This review step is what separates a reliable, permit-ready set from a rough sketch.
Accuracy and tolerances, explained
“Accurate” has a specific meaning in as-built work. Professional drawings are field-verified to a small, consistent tolerance rather than estimated. That precision is what makes them usable for construction, where a fraction of an inch across a wall run can determine whether cabinets, appliances, or an addition actually fit. Drawings pulled from old records or listing photos simply cannot offer this — which is why they cause problems downstream.
Step 5: Delivery
Finally, you receive your files. For 2D as-built plans that means PDF and DWG files, typically within 48 to 72 hours. For 3D projects you also get the 3D model files, generally within 3 to 5 business days. The DWG format lets your architect or designer open and build on the drawings directly in their own CAD software.
Turnaround times are estimates and may vary based on project complexity and scheduling.
How to prepare your property
You can speed up the visit and improve accuracy with a little prep: clear pathways and access to all rooms and closets, unlock gates and garages, secure pets, and gather any existing plans or permits. The easier it is for the technician to reach every space, the faster and more complete your as-builts will be.
Frequently asked questions
How long does the site visit take?
Most residential visits take one to three hours depending on square footage and complexity.
Do I need to be home during the measurement?
Someone needs to provide access, but you do not have to follow the technician around. Many clients simply grant entry and let the crew work.
What if part of my home cannot be accessed?
Inaccessible areas are clearly noted on the drawings rather than estimated, so the set remains honest and reliable.
From point cloud to finished CAD: the 3D workflow
When a project calls for 3D laser scanning, the path from raw data to usable drawings is more involved than most people realize. The scanner captures the space as a dense “point cloud” — millions of individual measured points that together form a precise digital replica of the building. But a point cloud is not a drawing; it is raw data. Skilled drafters register the multiple scans together into a single coordinated model, clean out noise and artifacts, and then trace the geometry to produce accurate floor plans, elevations, sections, and a 3D model. This tracing step is where professional judgment matters: the drafter interprets the scan, resolves ambiguities, and produces drawings that are clean and readable rather than a literal, cluttered copy of every point.
The payoff is accuracy and completeness that manual measurement cannot match on complex properties. Because the scan captures everything in view, drafters can return to the data later to extract a dimension that was not on the original request — without a second site visit. For historic buildings, irregular layouts, and large commercial spaces, this workflow is the gold standard.
Why experience matters in the field
It is tempting to assume that measuring a building is simple — point a laser, write down a number. In practice, the accuracy of the finished drawings depends heavily on the technician's experience. A seasoned technician knows how to establish reliable reference lines, how to handle rooms that are not square, how to account for wall thicknesses and out-of-plumb surfaces, and how to capture the details that designers will need later even when the client did not think to ask. They also know how to work efficiently and unobtrusively in an occupied home. The difference between an experienced crew and an inexperienced one rarely shows up on the site visit — it shows up weeks later, when the drawings either hold up under construction or reveal errors that force expensive changes.
Preparing for the most accurate results
You play a role in the accuracy of your as-builts. Before the visit, clear access to every room, closet, and utility space, since anything the technician cannot reach has to be noted as unverified rather than measured. Point out any additions or areas where you suspect previous work was done, so the crew pays special attention. If you have any existing plans or permits, have them available — not as a substitute for measurement, but as useful context. And flag any areas of particular importance to your project, such as the kitchen or the wall you plan to move, so the crew captures them in extra detail. A few minutes of preparation directly improves the quality of the finished set.
How this connects to your project
Once you have accurate as-builts, they become the base layer for whatever comes next: a remodel design, an ADU, a permit submittal, or simply a documented record of your property. If you are still deciding what you need, start with what as-built drawings are.
Bottom line
As-built drawings are made by measuring your property on site — by hand or with 3D laser scanning — and turning those measurements into clean, dimensioned CAD drawings. The accuracy of the finished set depends on both careful field work and skilled drafting, which is why professional as-builts are worth the investment.
Ready to get started?
Order 2D or 3D as-built drawings and let a local crew handle the measuring and drafting.
Get instant pricing