Sloped and vaulted ceilings can make a space feel larger, brighter, and more architectural—but they also make field measurement more technical. If you need accurate as-built drawings for a remodel, ADU, permit package, tenant improvement, or property records, it helps to understand how professionals measure vaulted ceiling conditions and turn those site notes into dependable plans.
When you need to measure vaulted ceiling geometry, the goal is not just to capture a few high points. The real job is to document how the ceiling relates to the floor plan, walls, ridge lines, beams, openings, and structural transitions. In California, that level of detail can matter for design coordination, permit review, energy documentation, and construction pricing. FastAsBuilt uses on-site laser measurement and senior drafters to produce permit-ready CAD files in PDF and DWG format, so your plans reflect the real built conditions instead of assumptions.
Why vaulted ceilings need a different measuring approach
Flat ceilings are comparatively simple because one elevation often applies across an entire room. A vaulted ceiling is different. Height changes across the space, and the ceiling may slope in one direction, rise symmetrically to a ridge, or combine several forms in one room. In older California homes, additions and remodels often create irregular conditions where one portion is level, another is sloped, and a third follows framing that does not align perfectly with the walls below.
That is why measuring a building with vaulted ceilings is less about taking one “ceiling height” and more about building a complete geometric picture. A field team typically needs to identify:
- Wall plate heights at multiple locations
- High points, low points, and ridge lines
- Slope direction and change points
- Beam bottoms and beam tops where exposed framing is visible
- Skylights, clerestory windows, dormers, and ceiling interruptions
- How the ceiling shape aligns with doors, windows, stairs, and adjacent rooms
If you are new to the subject, it helps to review what as-built drawings are before looking at the ceiling-specific details. Vaulted areas are one of the best examples of why accurate as-builts save time later: designers do not have to guess where the ceiling actually rises, where clearances tighten, or how sections should be cut.
What professionals are actually trying to capture
When we measure vaulted ceiling conditions, we are usually documenting more than appearance. The field data needs to support drafting decisions that affect floor plans, elevations, reflected ceiling plans, sections, and sometimes 3D models. A useful as-built set captures not just shape, but relationships.
For example, a permit-ready drawing package may need to show where a sloped ceiling begins relative to the finished floor and wall length. If the room includes a ridge beam, collar ties, exposed rafters, recessed light wells, or a dropped soffit crossing under the vault, those features can affect structural planning, lighting layout, HVAC routing, and code review. In a conversion or remodel, the difference between a 9-foot wall plate and a 10-foot wall plate can influence cabinetry, egress window assumptions, stair headroom, and even the perceived feasibility of a design concept.
In practical terms, a good measuring workflow captures:
- Plan dimensions of the room below
- Vertical dimensions at each relevant point
- Ceiling break lines and direction of slope
- Offsets to structural or finish elements
- Window and door head heights relative to the slope
- Cross-room relationships needed for accurate sections
That is one reason the as-built process step by step matters so much. The measuring stage and drafting stage work together. If the field notes are collected with final drawings in mind, the resulting CAD files are much more useful to architects, engineers, contractors, and permit expediters.
How the field team measures vaulted ceiling geometry on site
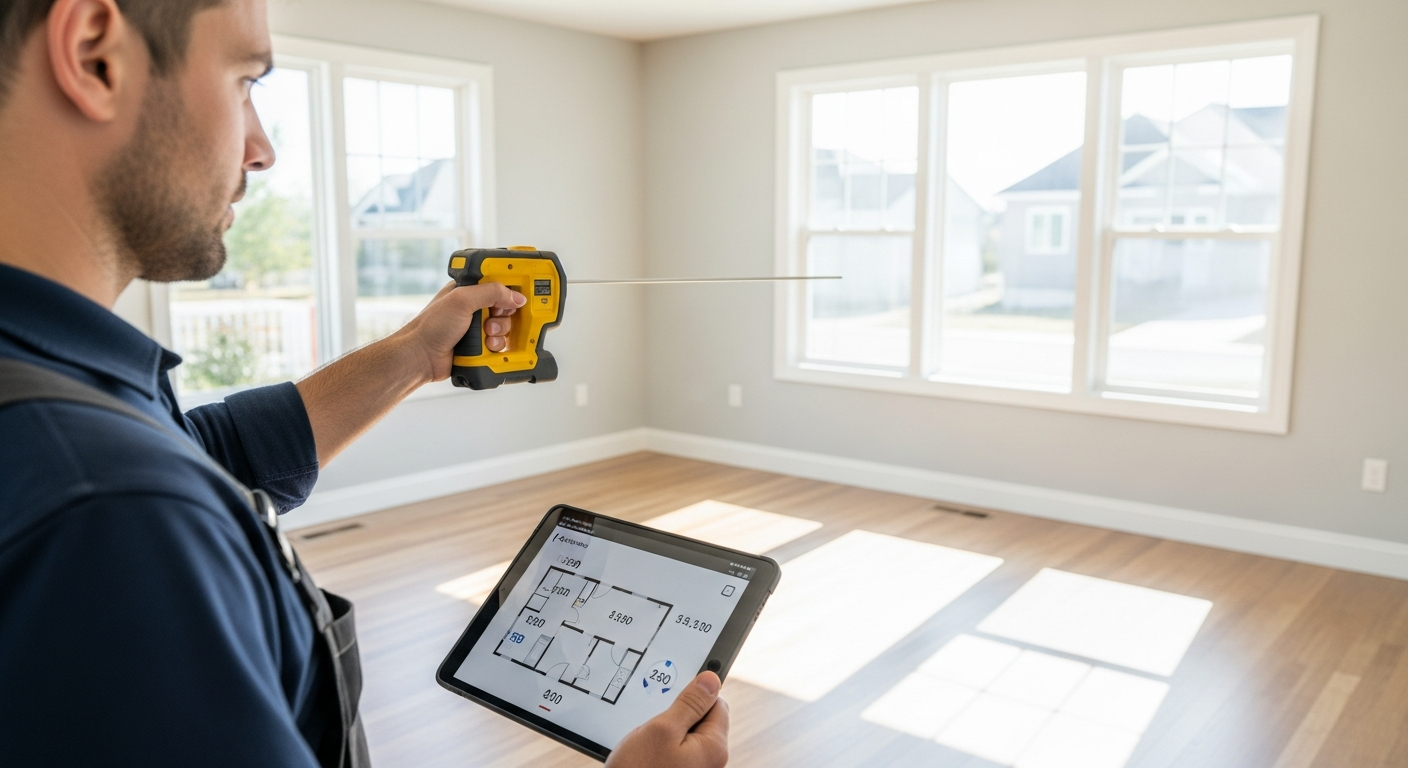
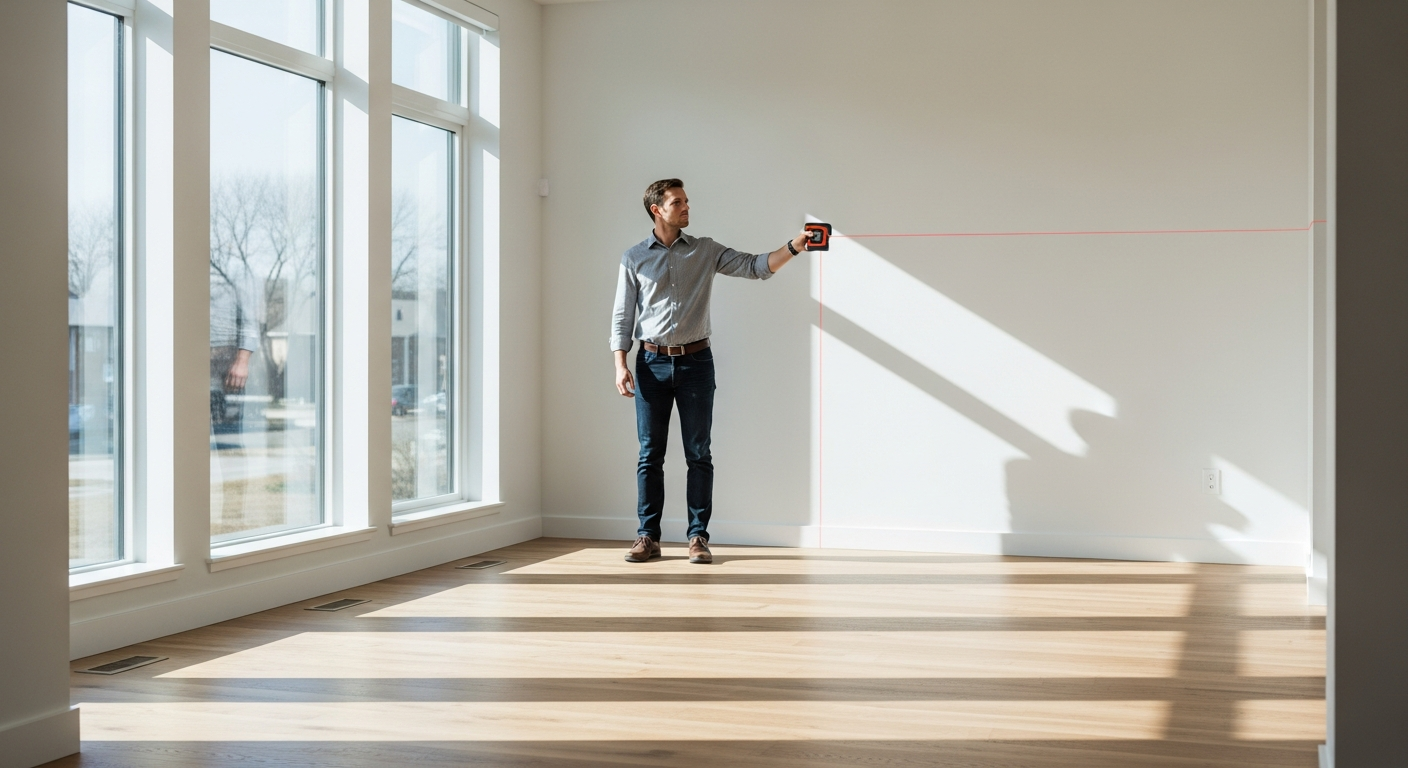
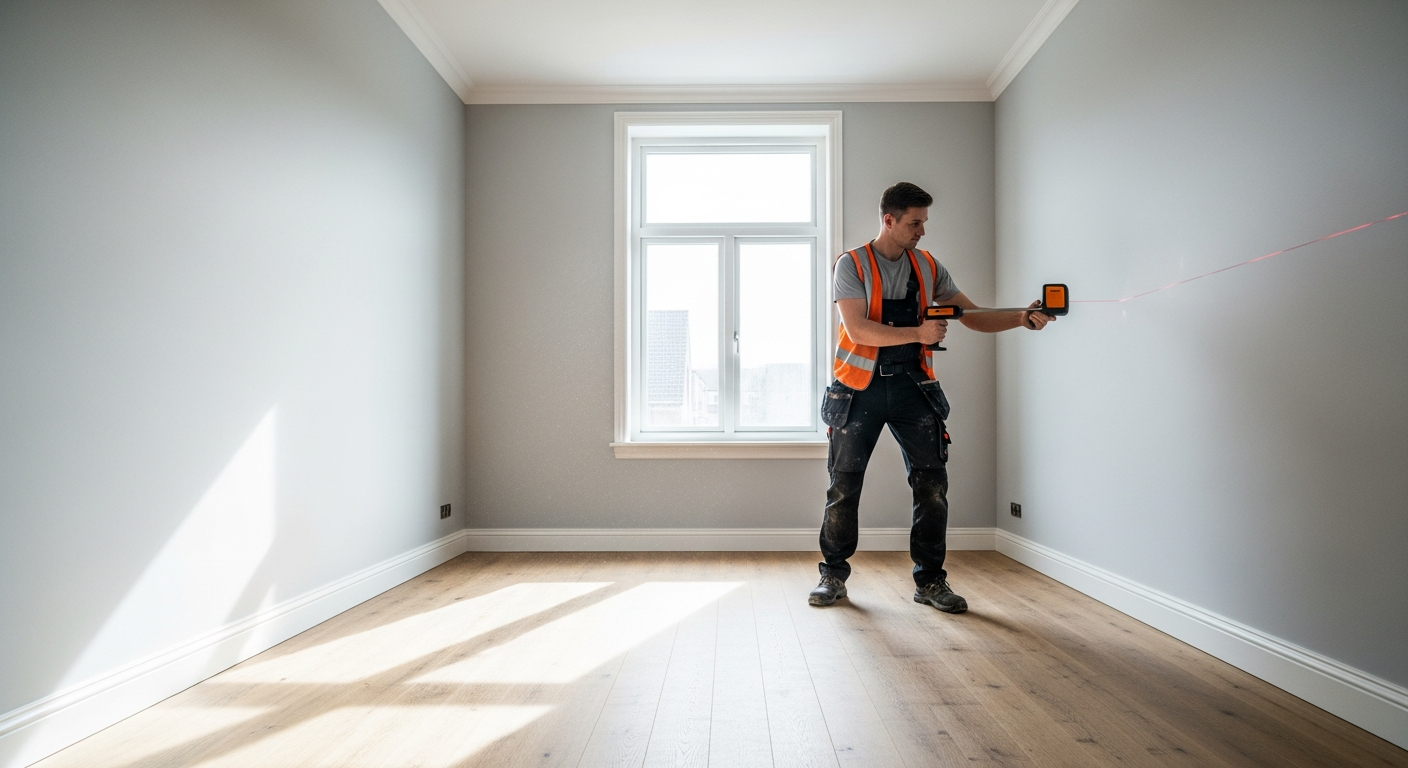
On site, the work usually begins with a room-by-room floor plan layout. The team establishes the room shape first because all ceiling measurements need to relate back to known wall locations. From there, laser measurements are taken horizontally and vertically to identify ceiling edges, high points, and transitions.
Depending on the room, the field workflow often includes:
- Measuring each wall length and checking diagonals where needed
- Recording finished floor to ceiling height at corners and key midpoints
- Locating the point where a flat wall transitions into a slope
- Measuring from floor to ridge, peak, or highest finished point
- Capturing beam depths and placement if the ceiling structure is exposed
- Locating skylights, recessed areas, and ceiling-mounted fixtures
For a simple symmetrical vault, the process can be straightforward. For a complex room with intersecting roof forms, the team may need multiple cross-checks to confirm geometry. This is especially common in hillside homes, custom residences, and remodels where the framing does not line up neatly with the visible finishes.
If you want a broader overview of field equipment, see what tools are used to measure as-built drawings. FastAsBuilt’s method centers on on-site laser measurement, then senior drafters translate those measurements into clean, permit-ready CAD drawings.
Need accurate as-built plans?
FastAsBuilt sends a local crew to laser-measure your property and delivers permit-ready 2D or 3D drawings, starting at $900.
See 2D & 3D pricingKey dimensions used to measure vaulted ceiling conditions accurately
To measure vaulted ceiling conditions well, certain dimensions matter more than others. Homeowners sometimes assume the only important number is the peak height, but that is rarely enough on its own. A complete record usually depends on a set of related dimensions that let the drafter rebuild the form correctly.
Wall plate and low-side heights
The first key number is the height where the wall meets the beginning of the slope. In a room with a conventional sidewall and rising ceiling, this establishes the “spring line” of the vault. If this line changes from one side of the room to the other, that variation needs to be documented.
Peak or ridge height
The highest point is critical, but it should be tied to a defined location on the plan. In a centered vault, that may be the room centerline. In an offset or shed-style ceiling, the peak or highest edge may fall closer to one wall.
Slope run and direction
A ceiling can rise two feet over a short run or over a long one. Those are very different shapes. Measuring the horizontal run associated with the rise helps define the actual angle or pitch of the ceiling plane.
Break lines and transitions
Some ceilings are not one uninterrupted plane. They may include flat portions, stepped soffits, tray-like transitions, or a low beam crossing through a sloped area. These break lines need exact plan locations.
Openings and penetrations
Skylights, gable windows, dormer walls, attic access panels, fans, recessed lighting, and duct penetrations can all affect drafting and downstream design work. Their location relative to the slope is often more important than their location alone.
When all of these dimensions are documented together, the resulting plans are more dependable. That level of detail is part of why clients ask about how accurate as-built drawings are before ordering. Accuracy in vaulted rooms comes from a system of checks, not a single measurement.
Common vaulted ceiling types and how each one is documented
Not every sloped ceiling is the same, and each type benefits from a slightly different measuring strategy. Knowing the ceiling form helps the field team decide where to take critical dimensions and where to expect irregularities.
Symmetrical gable vault
This is the classic centered vault where both sides rise toward a ridge. The main task is confirming that the ridge is actually centered and that both slopes are consistent. In many real homes, they are close but not perfectly identical.
Shed or mono-slope ceiling
One side is low and the ceiling rises in a single direction. Here, the important dimensions are the low-side height, high-side height, total run, and exact direction of rise. This form appears often in modern additions and upper-level rooms.
Cathedral ceiling with exposed structure
Exposed rafters, beams, or trusses introduce more layers of geometry. The visible finish plane may not be the same as the structural line. Measuring both the decorative and structural elements can be important, especially if future work will attach to them.
Vaults intersecting dormers or skylight wells
These require additional plan references and vertical checks. A skylight well can flare or taper, and dormer sidewalls may interrupt the expected slope. Those details usually show up in section drawings and can influence framing assumptions.
Mixed ceiling conditions
Many California homes have a combination of flat and sloped areas in the same room. For example, a kitchen might have a flat center with vaulted perimeter sections, or a living room may rise to a peak while an adjacent dining area remains level. Mixed conditions require very clear transition points so designers can trust the plans.
These distinctions are one reason field access matters. If you are planning an order, it is worth reading whether you need access to the whole house for measurements, because partial access can make it harder to document ceiling transitions accurately.
Where measurement mistakes happen most often
Vaulted ceilings are prone to a few repeat measurement problems. Most of them happen when someone tries to simplify the room too early. What looks centered from the floor may be offset. What looks like one clean slope may actually include a slight kink, a dropped beam, or finish layers that hide framing differences.
Common trouble spots include:
- Assuming the peak is centered without checking
- Recording only peak height and not the low-side heights
- Missing a small flat section near the ridge
- Ignoring beam depth, which changes visible clearance
- Confusing roof shape with ceiling shape in remodeled homes
- Failing to tie vertical dimensions to exact plan locations
Another issue appears in additions and older homes where the ceiling finish is not perfectly straight. A laser may reveal that a ridge line wanders slightly or one side of the room has settled. In those cases, the field team has to decide what to document as the primary built condition and how to represent it clearly in CAD. The goal is not to exaggerate every tiny imperfection, but to record the actual geometry in a way that is useful for design and permitting.
This is also why “remote only” measurement is usually not a good fit for spaces like these. If you are comparing options, see whether as-built drawings can be done remotely. For vaulted ceilings, on-site verification is usually the safest path.
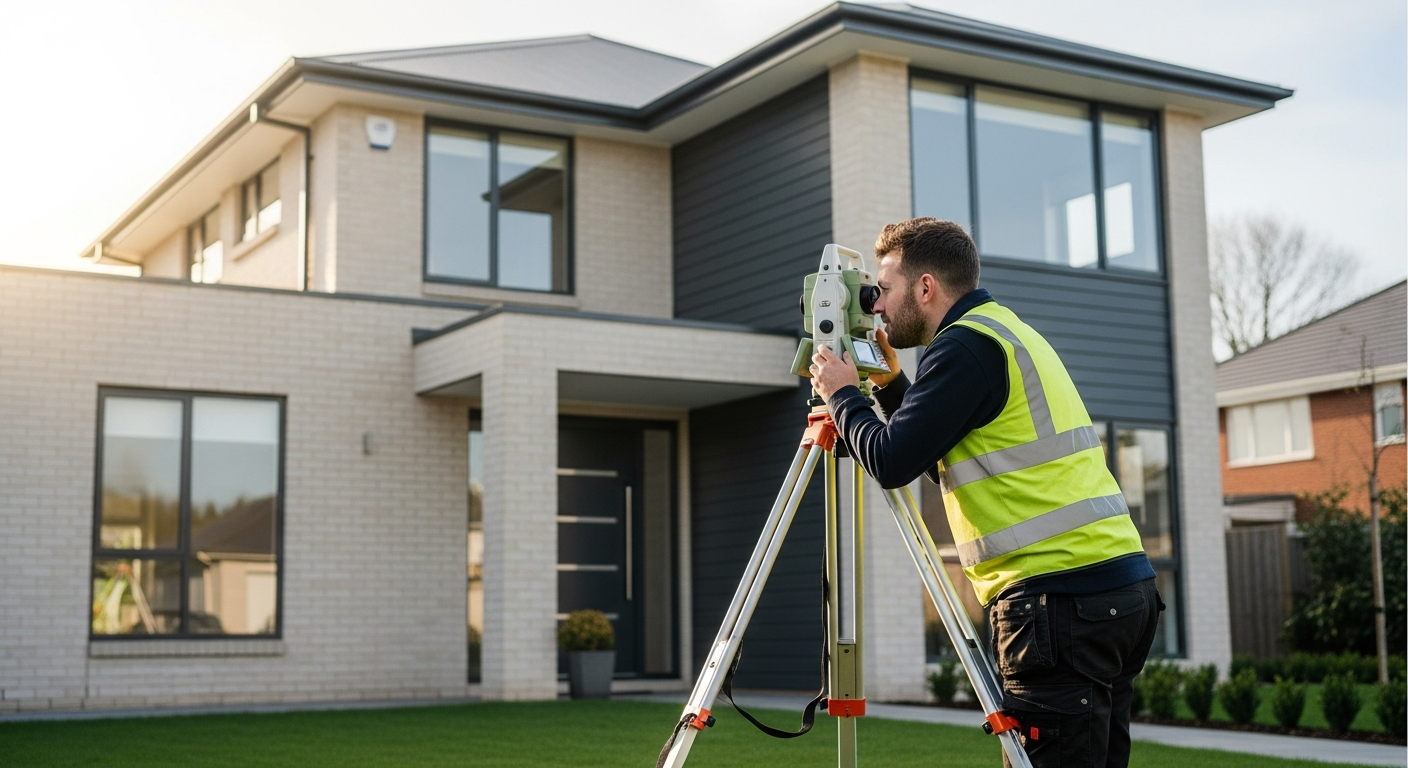
How vaulted ceilings are translated into as-built drawings
After the site visit, the drafting phase turns field measurements into readable drawings. For sloped and vaulted ceilings, the most useful representation often combines several views rather than relying on one sheet type alone.
Depending on project scope, the final as-built package may use:
- Floor plans that identify room layout and key ceiling notes
- Interior elevations showing wall heights, window heads, and slope relationships
- Building sections cutting through the vault to show low points, peaks, and structural depth
- Reflected ceiling information when ceiling features matter to design coordination
- 3D modeling for more complex forms or stakeholder review
FastAsBuilt offers 2D As-Built Plans starting at $900 for up to 1,500 square feet, then $0.50 per square foot. These include one revision and typically deliver in 48 to 72 hours. For more complex geometry, 3D As-Built Plans start at $1,500, then $1.00 per square foot, and include a 3D model plus 2D floor plans, elevations, and sections, with two revisions and typical delivery in 3 to 5 business days. Custom commercial work, ADUs, SB9 projects, and tenant improvements are quoted individually.
Turnaround times are estimates and may vary based on project complexity and scheduling.
That distinction matters because vaulted spaces often benefit from sections and elevations, not just floor plans. If you are trying to decide what level of documentation fits your project, you can review options and place a request through our packages page.
Why vaulted ceiling measurements matter for California permits and remodels
In California, sloped and vaulted ceiling conditions can affect more than aesthetics. They can influence how a designer approaches structural changes, insulation strategies, lighting, mechanical routing, and code coordination. If a room is being altered, converted, expanded, or legalized, accurate existing conditions help the design team avoid expensive redraws.
For example, ceiling geometry may affect:
- Section drawings required for permit review
- Headroom and clearance checks near stairs or loft areas
- Window placement in relation to sloped walls
- Title 24 energy documentation assumptions about the building envelope
- HVAC and lighting layout in rooms with limited flat ceiling area
- Structural planning when beams or framing members are exposed
On projects involving ADUs, SB 9 lot split development, tenant improvements, or major residential remodels, existing ceiling conditions can directly shape the design path. California rules such as Title 24 or local permit submittal standards are applied by the authority having jurisdiction, so exact requirements should always be confirmed with the city or county reviewing your project. Good as-builts do not replace design or engineering, but they give those teams a solid starting point.
How to prepare for a site visit when a home has vaulted rooms
You do not need to become an expert before the field team arrives, but a little preparation can make the measuring process smoother. Vaulted spaces often include areas that are visually open but physically harder to verify, especially if they are double-height, furnished tightly, or filled with tall millwork.
Before the appointment, it helps to:
- Provide any prior plans if you have them, even if they are outdated
- Make sure all vaulted rooms can be entered and viewed clearly
- Move items that block corners, window walls, or beam locations where possible
- Let the team know about recent additions or enclosed patios
- Mention lofts, attic conversions, or hidden access points that affect ceiling geometry
If you are wondering what information helps before scheduling, see what information you need to provide for as-builts. Even basic context—such as “the rear family room has a vaulted ceiling and two skylights”—helps set expectations for scope and drawing output.
FastAsBuilt serves clients across California with local crews in Southern California, the Bay Area, and San Diego. That local coverage matters because many homes in these regions have unique remodel histories, hillside conditions, or design styles where ceiling geometry deserves careful field verification.
Frequently asked questions
Can you measure a vaulted ceiling accurately without getting on the roof?
Yes. In most cases, vaulted ceiling as-builts are measured from the interior using on-site laser tools and careful reference points. The goal is to capture the finished interior geometry, not just the exterior roof form. Roof access is usually unnecessary unless the project scope specifically calls for exterior roof documentation.
Do I need 3D as-builts for a vaulted ceiling?
Not always. A simple vaulted room may be documented well with 2D plans plus the right elevations and sections. However, more complex ceiling forms often benefit from 3D As-Built Plans because the model helps communicate shape clearly. If the space includes intersecting slopes, exposed structure, or multiple skylight wells, 3D can be especially useful.
How long does it take to get as-built drawings back for a house with vaulted ceilings?
Typical timing depends on scope. FastAsBuilt’s 2D As-Built Plans usually deliver in 48 to 72 hours, while 3D As-Built Plans typically deliver in 3 to 5 business days. Larger or custom projects may take longer. If schedule is a major factor, it helps to review how long it takes to get as-built plans back and discuss complexity up front.
Turnaround times are estimates and may vary based on project complexity and scheduling.
Will the drawings show the exact slope angle of the ceiling?
The drawings can show the geometry needed to define the slope accurately, typically through dimensions and section views. Depending on project needs, the ceiling may be represented by rise and run, key heights, or other drafting conventions that let the design team reconstruct the angle correctly.
Why is measuring a building with vaulted rooms harder than measuring standard rooms?
Because the ceiling shape changes vertically across the room. A standard room often needs one ceiling height; a vaulted room needs multiple reference heights, transition points, and cross-checks tied to the floor plan. It also often requires sections or elevations to communicate the form clearly.
Start with accurate as-builts
Order field-measured 2D or 3D as-built drawings and let a local crew handle the measuring and drafting.
Get instant pricingBottom line
If you need to measure vaulted ceiling conditions for reliable as-built drawings, the key is capturing the full geometry of the room—not just the peak. Accurate field measurement ties low points, high points, slopes, beams, openings, and transitions back to the floor plan so the final drawings are useful for design, pricing, and California permit work. FastAsBuilt provides on-site laser measurement and senior-drafted, permit-ready CAD files across California, with 2D and 3D options depending on how much detail your project requires.