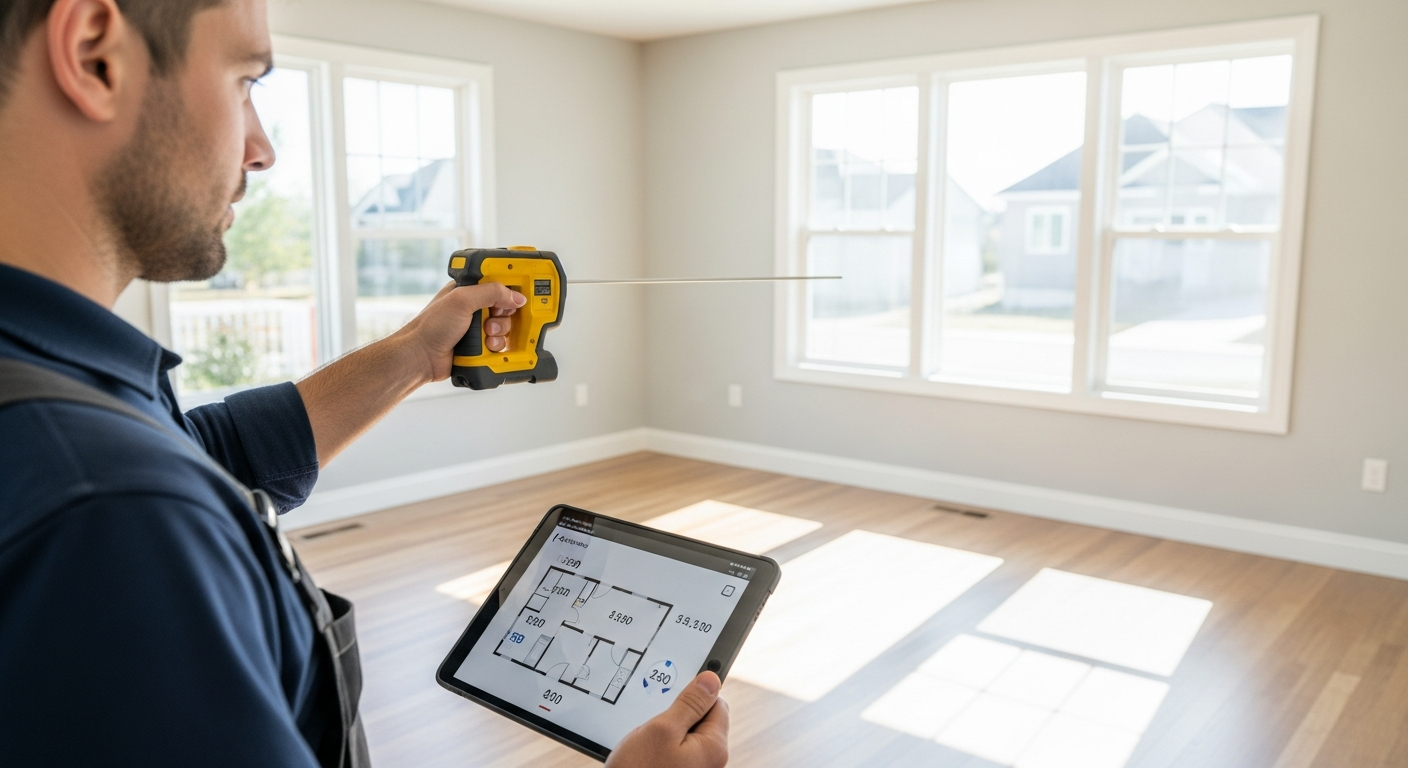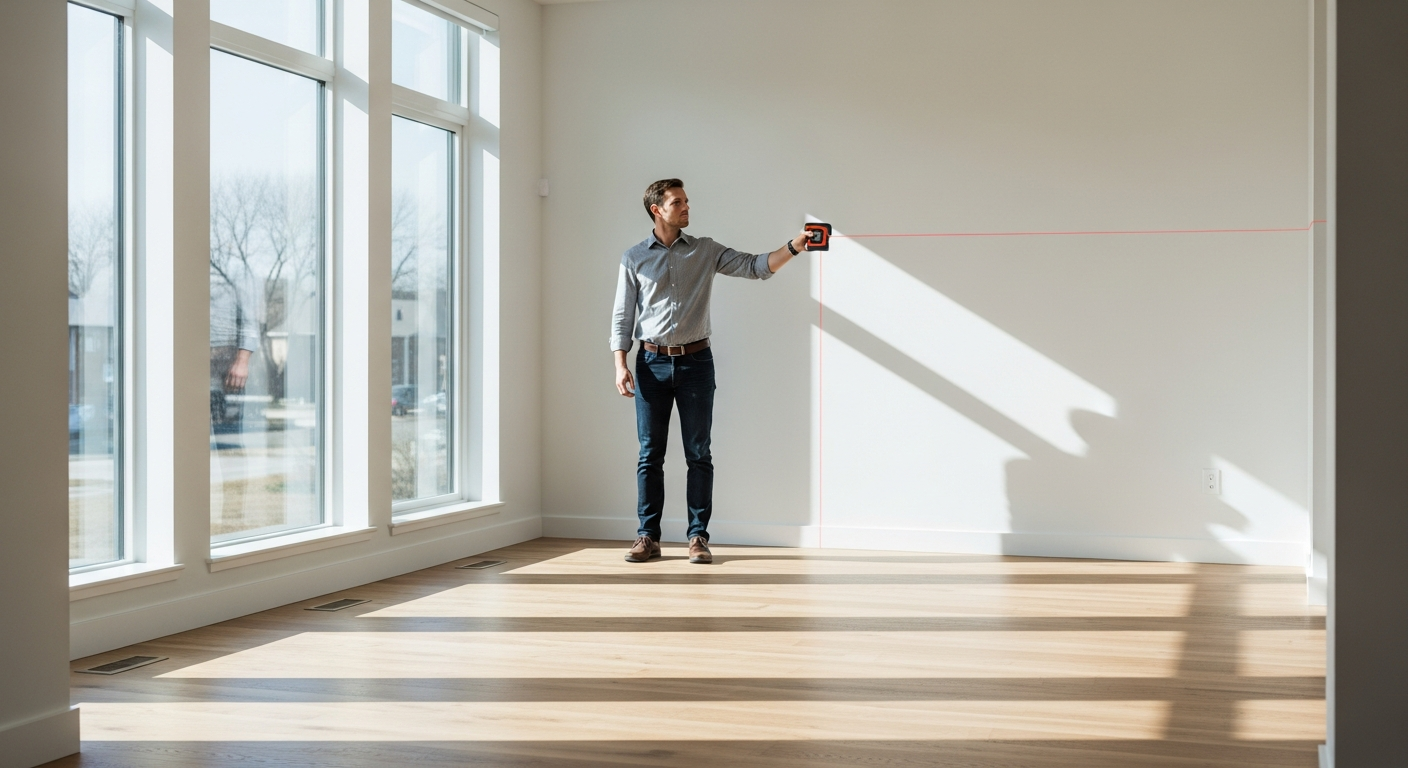
If you are trying to understand how to measure a house for as-builts, the short answer is that the job combines careful field measuring, laser measurement tools, handwritten or digital notes, and a drafting workflow that turns site data into clean CAD drawings. The goal is not just to get rough room sizes. It is to capture the existing home as it stands so the final plans can support design, remodeling, permitting, and construction decisions.
At FastAsBuilt, we field-measure homes across California, then our senior drafters produce permit-ready CAD files in PDF and DWG format. If you need a practical overview before scheduling a visit, this guide explains what gets measured, what tools are used, how the work is organized on site, and where accuracy matters most.
What measuring a house for as-builts really means
Many owners assume measuring a house means taking the length and width of each room. For as-built drawings, the scope is broader. You are documenting the existing conditions of the house so the plans reflect the layout and major built features that matter to architects, engineers, contractors, and plan reviewers.
That usually includes wall locations, overall building dimensions, room sizes, door and window openings, stairs, ceiling changes, major fixtures, and other visible conditions that affect the structure or use of the space. Depending on the project, the finished set may also include elevations and sections, not just floor plans. If you want a deeper overview of deliverables, see what is included in as-built drawings.
In California, this is especially important for remodels, ADUs, tenant improvements, and permit submittals where existing conditions must be shown clearly. A measured plan helps reduce guesswork before design begins. It also gives the project team a common base file instead of relying on old marketing layouts, outdated blueprints, or memory.
The main tools used to measure a house
The most efficient way to measure a house today is with on-site laser measurement supported by field notes and a consistent room-by-room process. A tape measure can still be useful in tight spots or for quick checks, but laser tools are what make residential as-built work faster and more reliable.
Typical field measuring tools include:
- Laser distance measurers for wall-to-wall and point-to-point dimensions
- Graph paper, tablets, or field sketches for recording dimensions
- Cameras or phones for reference photos
- A tape measure for verification and small details
- Ladders or simple access tools when safe access is needed for higher elements
Laser measurement is useful because it speeds up data capture and reduces the chance of transcription errors from repeated manual measuring. It is especially helpful in long hallways, open living areas, angled spaces, and homes with additions where dimensions need to tie together across multiple rooms.
Still, the tool is only part of the process. Good field measuring depends on knowing what to shoot, how to build a logical sketch, how to cross-check dimensions, and how to leave the site with enough information to draft the plans without guessing later. For a broader view of the full workflow, see how as-built drawings are made.
How the site visit is organized before measuring starts
Before anyone starts taking dimensions, the measurer needs a clear approach. That means understanding the scope, confirming which structures are included, and identifying any access issues. A single-family home may sound straightforward, but many California properties include attached garages, enclosed patios, additions, detached units, or altered spaces that affect the measuring plan.
A typical pre-measure checklist includes:
- Confirming the property address and structures to be documented
- Determining whether the project needs 2D plans or a 3D model with plans, elevations, and sections
- Checking access to all rooms, garages, backyards, and side yards
- Noting pets, tenants, security gates, or limited-entry areas
- Clarifying whether the project is for design, permit, remodel planning, or purchase review
This planning matters because a good field visit is efficient and complete. Missing one locked room or inaccessible addition can delay drafting and trigger a return visit. If you are getting ready for an appointment, how to prepare for your as-built site visit explains how to make the process smoother.
Need accurate as-built plans?
FastAsBuilt sends a local crew to laser-measure your property and delivers permit-ready 2D or 3D drawings, starting at $900.
See 2D & 3D pricingStep-by-step: how to measure a house room by room
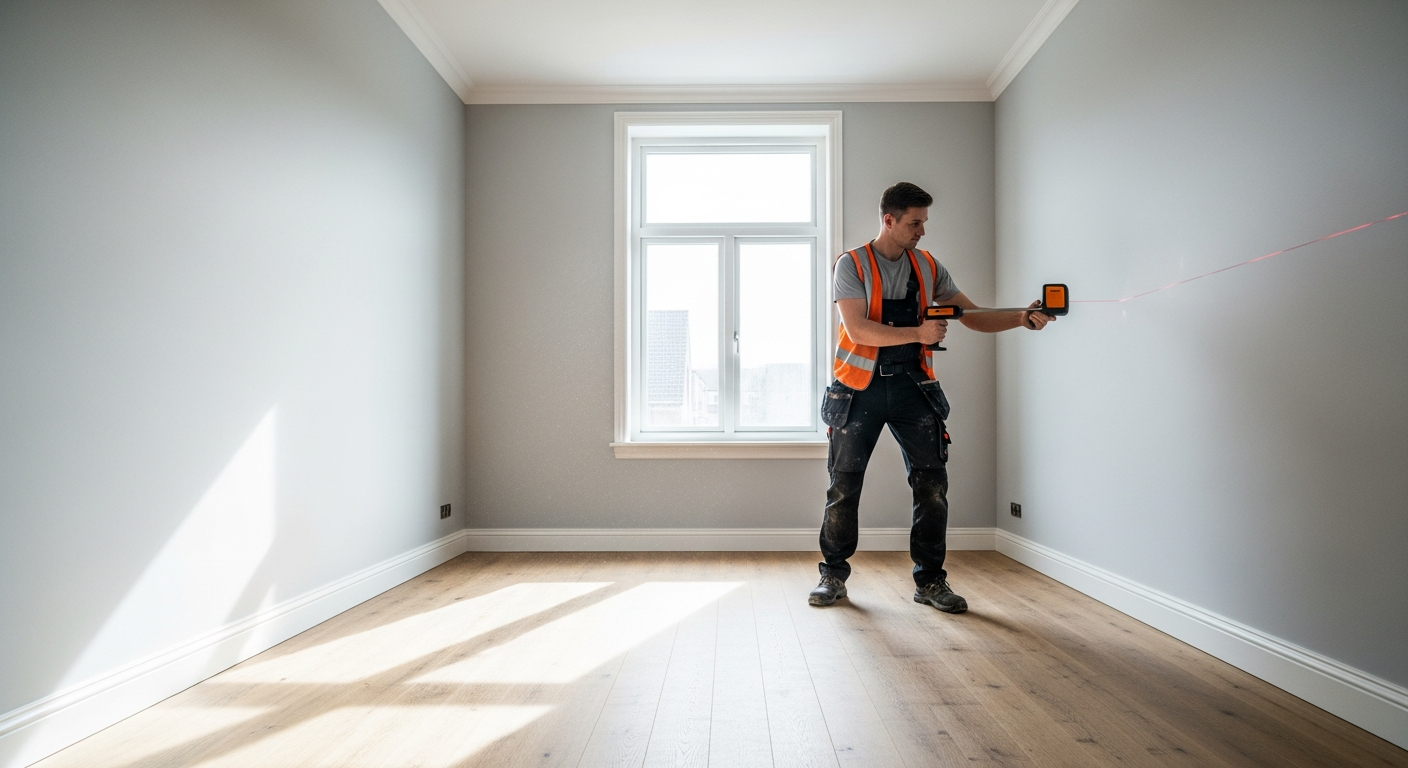
When professionals measure a house for as-builts, they usually follow a repeatable sequence. The exact method can vary by property, but the best practice is to work from large geometry to smaller details. That keeps the sketch organized and makes it easier to catch errors before leaving the site.
1. Start with the exterior footprint
The measurer often begins by establishing the overall building shape. Exterior dimensions create the main reference for the interior layout. On a simple rectangular home, this may be straightforward. On a house with bays, setbacks, jogs, porches, or multiple additions, the footprint can require several tied dimensions.
2. Sketch the interior layout
Next comes a rough floor-plan sketch showing rooms, hallways, closets, stairs, and openings. This does not need to look polished in the field. It needs to be readable and structured so dimensions can be added in the right places.
3. Measure wall lengths and room sizes
Room by room, the measurer captures wall lengths, offsets, recesses, and transitions. In homes with open plans, dimensions are often broken into logical segments so they can be checked against the larger footprint.
4. Record doors, windows, and major openings
Openings are important because they affect design options, elevations, and permit drawings. The field notes should show their location along each wall, not just their count.
5. Note fixed features and vertical elements
Kitchens, bathrooms, fireplaces, stair runs, and ceiling changes often need to be identified. If the final product includes sections or elevations, the field team may also capture height-related information and important transitions.
6. Cross-check dimensions before leaving
One of the most important steps in field measuring is verification. If interior dimensions do not reconcile with the exterior footprint, the team reviews the area while still on site. It is far easier to resolve a discrepancy during the visit than after the fact.
This room-by-room method is what turns field measuring into a dependable as-built workflow instead of a collection of random dimensions.
What details matter most for permit-ready drawings
Not every measurement carries the same weight. If the as-builts will support permit work, certain details need extra attention because they affect plan review, design coordination, and construction feasibility. Existing conditions plans should clearly show the layout people will actually be working from.
Important items often include:
- Overall building dimensions and clear room geometry
- Door and window locations
- Stair configuration and landings
- Garage layout and connections to the house
- Visible structural or layout changes from additions or remodels
- Ceiling changes or floor level transitions where relevant
That does not mean every project requires the same level of detail. A homeowner gathering baseline plans for future design work may need a simpler measured floor plan. A project headed toward permit often benefits from more complete existing-condition documentation. If your next step is submission to a city or consultant team, read as-built drawings for building permit for context on how the plans are used.
How measurements become CAD drawings after the site visit
Once the field measuring is done, the real value comes from converting that site data into usable drawings. At FastAsBuilt, senior drafters take the measurements and field notes, organize the information, and draft permit-ready CAD files delivered as PDF and DWG.
This drafting stage typically includes:
- Rebuilding the floor plan geometry from measured dimensions
- Checking dimensions for consistency and closure
- Placing doors, windows, fixtures, and other visible features
- Adding drawing organization, labels, and sheet structure
- Producing final files based on the selected package
For 2D as-built plans, FastAsBuilt starts at $900 for up to 1,500 square feet, then $0.50 per square foot, with 1 revision and typical 48–72 hour delivery. For 3D as-built plans, pricing starts at $1,500, then $1.00 per square foot, and includes a 3D model plus 2D floor plans, elevations, and sections, with 2 revisions and typical 3–5 business day delivery. Custom projects such as commercial spaces, ADUs, SB9 work, and tenant improvements are quoted individually.
Turnaround times are estimates and may vary based on project complexity and scheduling.
If you already know your project scope, you can review options and place a request through the packages page.
Common measuring challenges in California homes
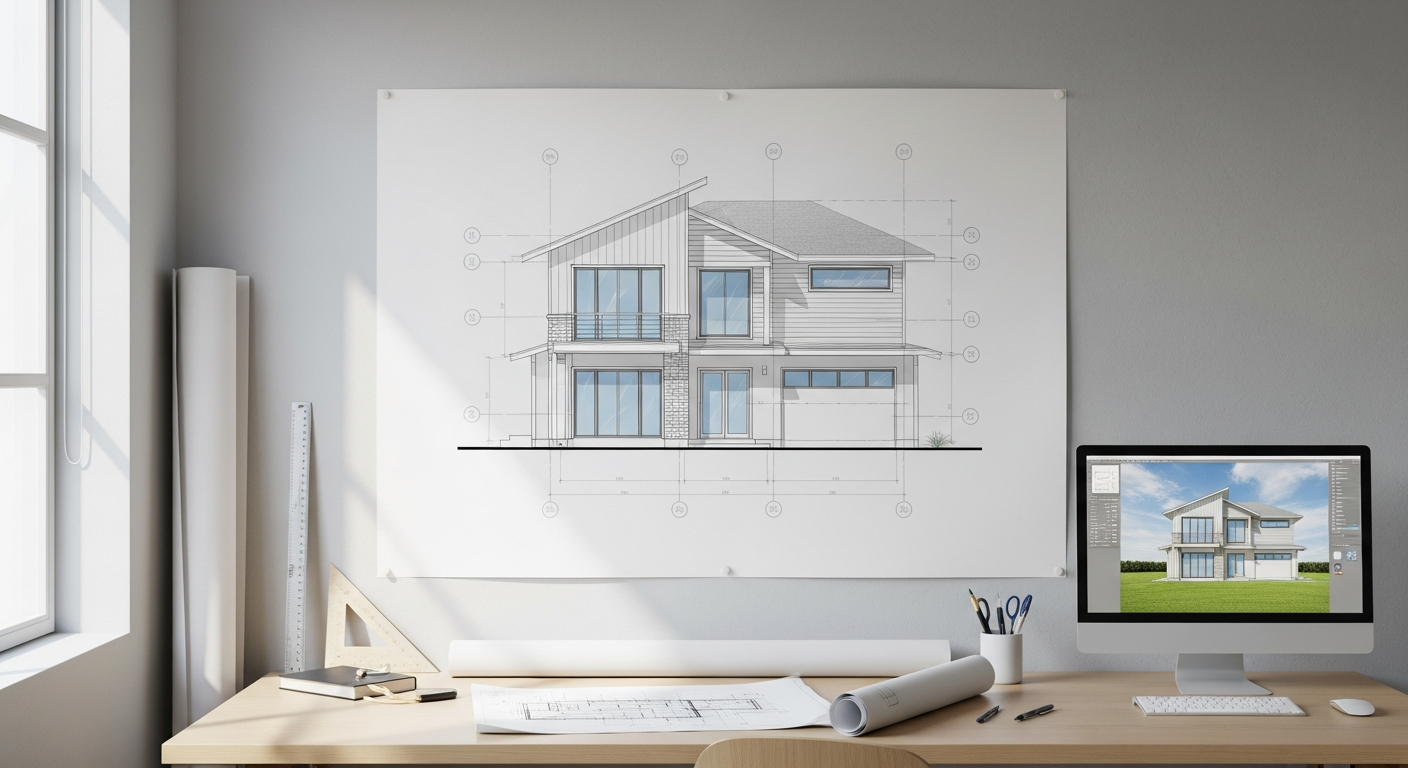
California houses are not always simple to document. Even when the square footage is modest, the property may include conditions that complicate field measuring. Older homes may have irregular geometry. Newer remodels may combine original walls with additions. Coastal and hillside properties can introduce unusual footprints, decks, split levels, or access limitations.
Common challenges include:
- Non-square rooms and angled walls
- Converted garages or enclosed patios
- Multiple additions built at different times
- Limited access to side yards for exterior shots
- Occupied homes with furniture blocking key corners
- Detached structures that owners assume are included but were not discussed in advance
These conditions are one reason professional field measuring is valuable. A trained team knows how to build enough dimensional control into the sketch to keep the final drawings coherent, even when the house has grown in phases over time. If the property has a second unit or planned accessory unit work, related planning topics are covered in as-built plans for ADUs in California.
How long it takes to measure a house and what affects timing
People often ask how long it takes to measure a house for as-builts. The answer depends less on raw square footage than on complexity and access. A clean, rectangular home with full access can move quickly. A furnished house with multiple additions, level changes, and detached structures takes longer because the team has more details to capture and reconcile.
Timing is influenced by:
- The size of the home
- The number of stories
- The complexity of the footprint
- Whether garages, patios, or detached structures are included
- How accessible each space is during the visit
- Whether the final product is 2D only or includes 3D, elevations, and sections
The on-site visit is only one part of the schedule. After field measuring, the drafting and quality-check process still needs to happen. FastAsBuilt typically delivers 2D plans in 48–72 hours and 3D packages in 3–5 business days, depending on scope. That timeline is useful for owners who need a dependable base before design starts.
Turnaround times are estimates and may vary based on project complexity and scheduling.
Frequently asked questions
Can you measure a house with only a tape measure?
Yes, but it is slower and generally less efficient than laser measurement. Tape measures can still help with spot checks and small details, but professional as-built field measuring usually relies on on-site laser tools to capture dimensions more quickly and consistently.
Do as-built measurements include every tiny detail in the house?
No. The purpose is to document the existing conditions needed for the selected drawing set. That usually means the layout, openings, major visible features, and other items relevant to design or permit use. The exact scope depends on whether you need 2D plans, a 3D package, or a custom project.
Why can’t old plans or listing sketches replace a new site measurement?
Because many homes have changed since the original plans were created, and listing sketches are often too limited for design or permit work. A fresh field measurement captures the house as it exists now, which is what your architect, contractor, or city reviewer needs to see.
What is the best option if you just bought a house and need plans fast?
A measured as-built plan is usually the most reliable starting point. It gives you a current record of the home instead of forcing your team to work from assumptions. If that is your situation, FastAsBuilt can help with a field-measured plan set based on your scope and timeline.
Start with accurate as-builts
Order field-measured 2D or 3D as-built drawings and let a local crew handle the measuring and drafting.
Get instant pricingBottom line
Knowing how to measure a house for as-builts means understanding both the field work and the drafting that follows. The process starts with organized on-site laser measurement, careful room-by-room field measuring, and clear notes about the home’s existing layout and visible features. It ends with permit-ready CAD drawings that your project team can actually use. For homeowners, architects, contractors, and buyers across California, that measured baseline can save time, reduce uncertainty, and create a much stronger starting point for the next step.