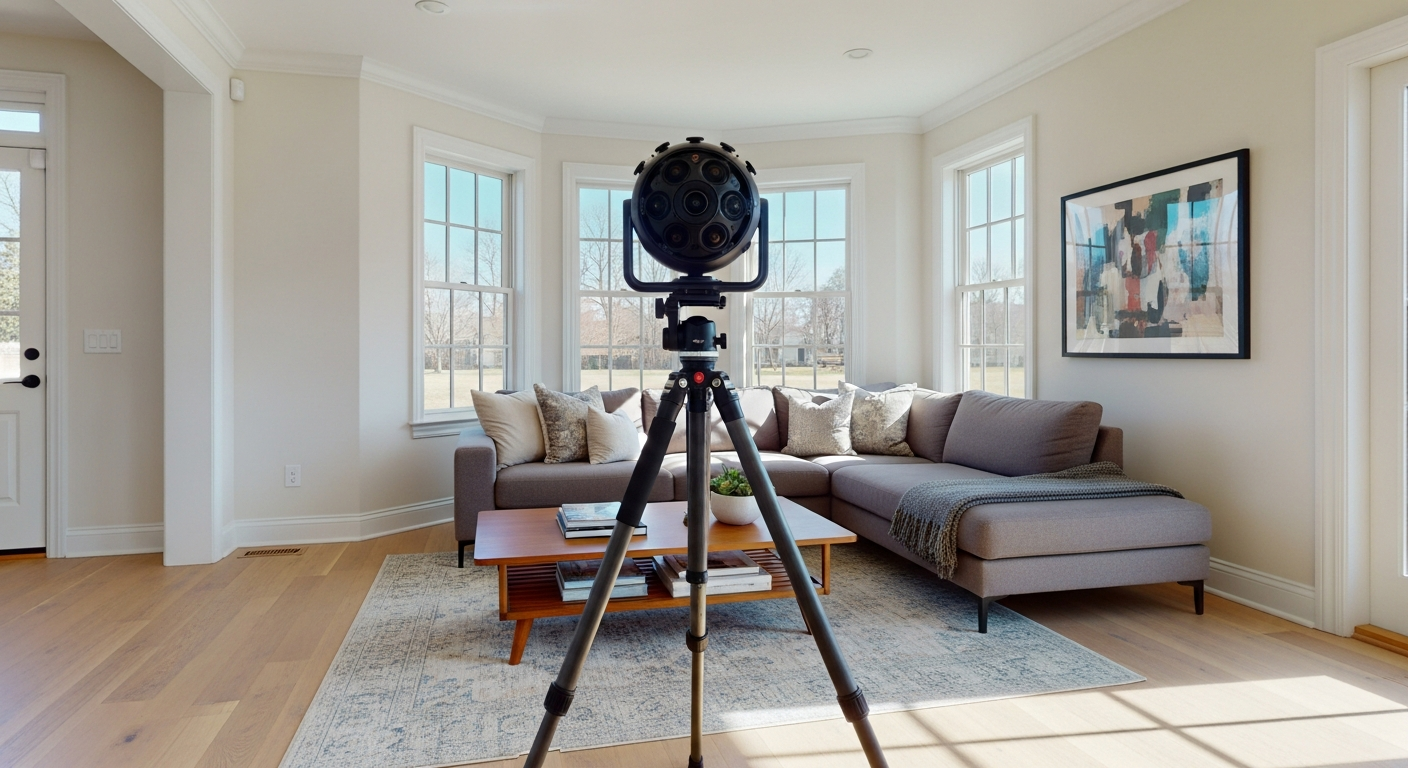
A wall plumb survey documents whether a wall is truly vertical and, if not, how much it leans, bows, or varies across its height. In practical terms, it turns a visual concern—a wall that looks out of line, a corridor that feels tighter at one end, or a facade that may have moved over time—into measured data you can use for design, construction, maintenance, or dispute resolution.
For California projects, that matters more than many teams expect. Existing buildings often carry decades of alterations, settlement, seismic effects, moisture damage, or simple construction tolerances that do not show up on old drawings. A wall plumb survey helps architects, engineers, owners, and contractors understand actual conditions before they commit to millwork, framing, glazing, equipment placement, tenant improvements, or structural evaluation. When the project needs speed and broad coverage, 3d laser scanning and reality capture can make the process much more efficient.
What a wall plumb survey actually measures
A wall plumb survey compares the built wall to a true vertical reference. The purpose is not just to say a wall is “good” or “bad.” It is to identify where deviation occurs, how much deviation exists, and whether the pattern suggests lean, bow, twist, irregular framing, surface buildup, or movement over time.
Depending on the scope, the survey may evaluate:
- Overall lean from base to top
- Local bowing or bulging at specific heights
- Out-of-plane variation along the wall length
- Differences between finish surface and structural backup
- Alignment at corners, openings, and wall intersections
- Relationships between walls, floors, columns, and ceilings
That distinction is important. A wall can be close to plumb overall but still have local bulges that affect casework, stone panels, storefront systems, or prefabricated assemblies. Another wall may be straight but tilted enough to create fit problems over a long run. A useful survey captures both global and local conditions.
Why teams order a wall plumb survey
Most requests come from a specific decision that depends on accurate field conditions. Owners may want to understand whether visible movement is cosmetic or worth engineering review. Architects may need reliable inputs before preparing renovation drawings. Contractors may want to verify tolerances before ordering materials that allow little adjustment in the field.
Common use cases include:
- Interior renovations where millwork, partitions, or equipment must fit against existing walls
- Facade and cladding projects that need substrate verification
- Historic buildings where walls may have drifted over time
- Tenant improvements where hidden irregularities can trigger change orders
- Structural assessment after settlement, impact, or seismic events
- Water intrusion investigations where movement may be part of the cause
- Pre-purchase due diligence for older commercial or multifamily buildings
In California, surveys are also useful when an owner is planning work that may later require permit-ready documentation. If the broader project will rely on existing-condition drawings, it helps to understand what as-built drawings include and where a targeted plumb analysis fits within that package.
How plumb deviation is defined in the field
Plumb deviation is the horizontal offset of a wall surface, centerline, or reference plane from true vertical. The reference matters. A finish face, such as drywall or plaster, may not represent the underlying structure. Masonry, concrete, framed walls, and curtain wall backups each raise different questions about which surface should be measured and why.
On a typical survey, the team first establishes the measurement objective:
- Are you evaluating the finished wall surface for fit and finish?
- Are you checking a structural wall for movement?
- Are you comparing multiple floors or repeated units?
- Do you need a best-fit plane, a grid of measured points, or a color deviation map?
From there, the wall is measured relative to a vertical datum. Results may be reported as:
- Total deviation from bottom to top
- Deviation at set heights, such as every 2 feet or 1 meter
- Maximum positive and negative offsets from a best-fit plane
- Profiles or sections showing lean and bow
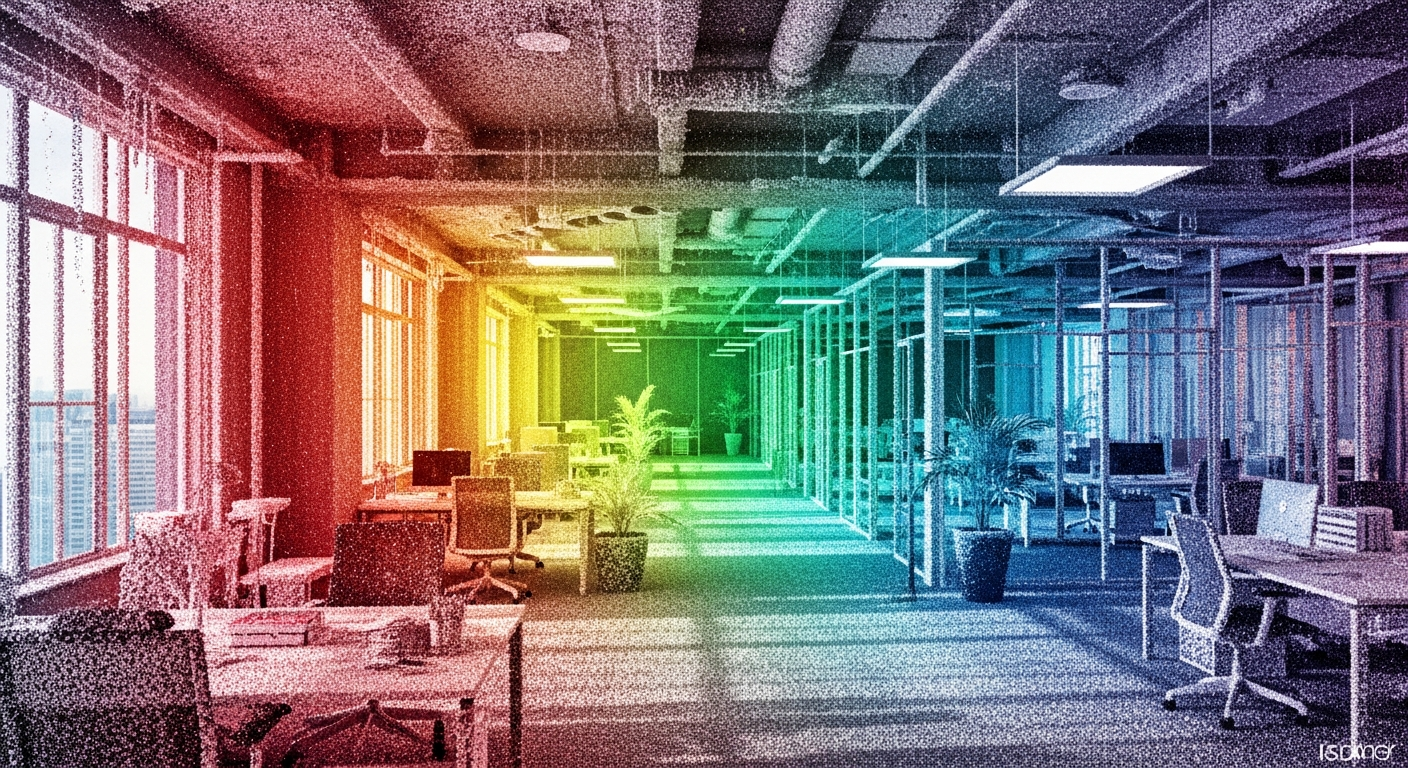
- Heat maps that visualize out-of-plumb areas
For RFP writers and technical reviewers, this is where scope language matters. “Measure wall plumb” is usually too vague. A better request defines the wall area, the measured surface, the reporting interval, the preferred deliverable format, and whether the output should support design, fabrication, or engineering review.
Traditional tools versus 3d laser scanning
Walls can be checked with levels, plumb bobs, lasers, total stations, straightedges, or strings. Those methods still have a place, especially for a small area or a quick quality-control check. But they become slow when you need complete coverage, multiple floors, irregular geometry, or documentation that can be reviewed later by several parties.
That is why many teams now use 3d laser scanning as part of a wall plumb survey. Instead of collecting only a handful of spot measurements, scanning captures dense spatial data across the full surface. That allows the wall to be evaluated after the field visit from many viewpoints and with different reporting methods.
If you are comparing methods, it helps to understand how 3d laser scanning works for as-builts and how it differs from a basic site walk with a laser level. The value is not just speed. It is data completeness. A missed bulge between spot checks can become an expensive issue if finish materials are already ordered.
Scanning is especially useful when:
- The wall is long, tall, curved, or difficult to access
- Several trades need to use the same field data
- You need to relate the wall to floors, ceilings, columns, or openings
- The condition may become a dispute and clear documentation is important
- You want a digital record for future phases
Need accurate as-built plans?
FastAsBuilt sends a local crew to laser-measure your property and delivers permit-ready 2D or 3D drawings, starting at $900.
See 2D & 3D pricingWhere reality capture fits into plumb analysis
Reality capture is the broader process of recording existing conditions in digital form. A wall plumb survey can be one output from that process, along with floor plans, elevations, sections, reflected ceiling information, or 3D models. In other words, the survey is often not a standalone exercise; it is part of a larger effort to understand the building as it actually exists.
For many owners and design teams, that bigger picture is the real advantage. When the wall analysis is generated from a coordinated capture of the space, everyone can check related conditions without returning to the site for every question. That can be valuable on California remodels, adaptive reuse work, and occupied buildings where site access is limited.
For a deeper overview, see what reality capture means in construction. The practical takeaway is simple: if your project will likely need more than one kind of existing-condition document, an integrated capture approach is often more efficient than ordering separate field visits.
Typical workflow for a wall plumb survey
A good survey follows a clear sequence so the final numbers can be trusted and understood. While every provider has its own process, the workflow usually includes planning, field capture, processing, analysis, and deliverables.
1. Define the scope
The team confirms which walls are included, whether the concern is finish or structure, and what outputs are needed. This step should also identify access restrictions, occupied areas, exterior conditions, and whether lift equipment or night work is required.
2. Capture the field conditions
On site, technicians measure the walls using the agreed method. With scanning, this often means multiple scan positions to reduce shadowing and capture enough geometry for reliable analysis. Surface obstructions, mirrors, temporary protection, furniture, and dense mechanical equipment can affect visibility, so planning matters.
3. Register and clean the data
When 3d laser scanning is used, the individual scans are aligned into a common coordinate system. Noise is reduced, irrelevant objects may be filtered, and the dataset is reviewed for gaps. If you are new to scan-based deliverables, this is where a point cloud becomes useful as the source for measurements and drawings.
4. Establish reference geometry
Analysts define the vertical datum, choose the measured plane or surface, and decide how to report deviation. For example, they may compare the wall to true vertical through a baseline, or calculate a best-fit plane to show where the wall departs from its average position.
5. Produce the deliverables
Outputs may include annotated elevations, color maps, CAD backgrounds, sections, tabulated offsets, or a narrative summary of observed conditions. For broader renovation work, the wall study can also feed permit-ready as-built drawings and models.
FastAsBuilt uses on-site laser measurement and senior drafters to produce permit-ready CAD files in PDF and DWG formats. For California projects that need existing conditions documented beyond one wall, 2D as-built plans start at $900 for up to 1,500 square feet, then $0.50 per square foot, with 1 revision and typical 48–72 hour delivery. 3D as-built plans start at $1,500, then $1.00 per square foot, and include a 3D model plus 2D floor plans, elevations, and sections, with 2 revisions and typical 3–5 business day delivery. You can review options and request service through our packages page.
Turnaround times are estimates and may vary based on project complexity and scheduling.
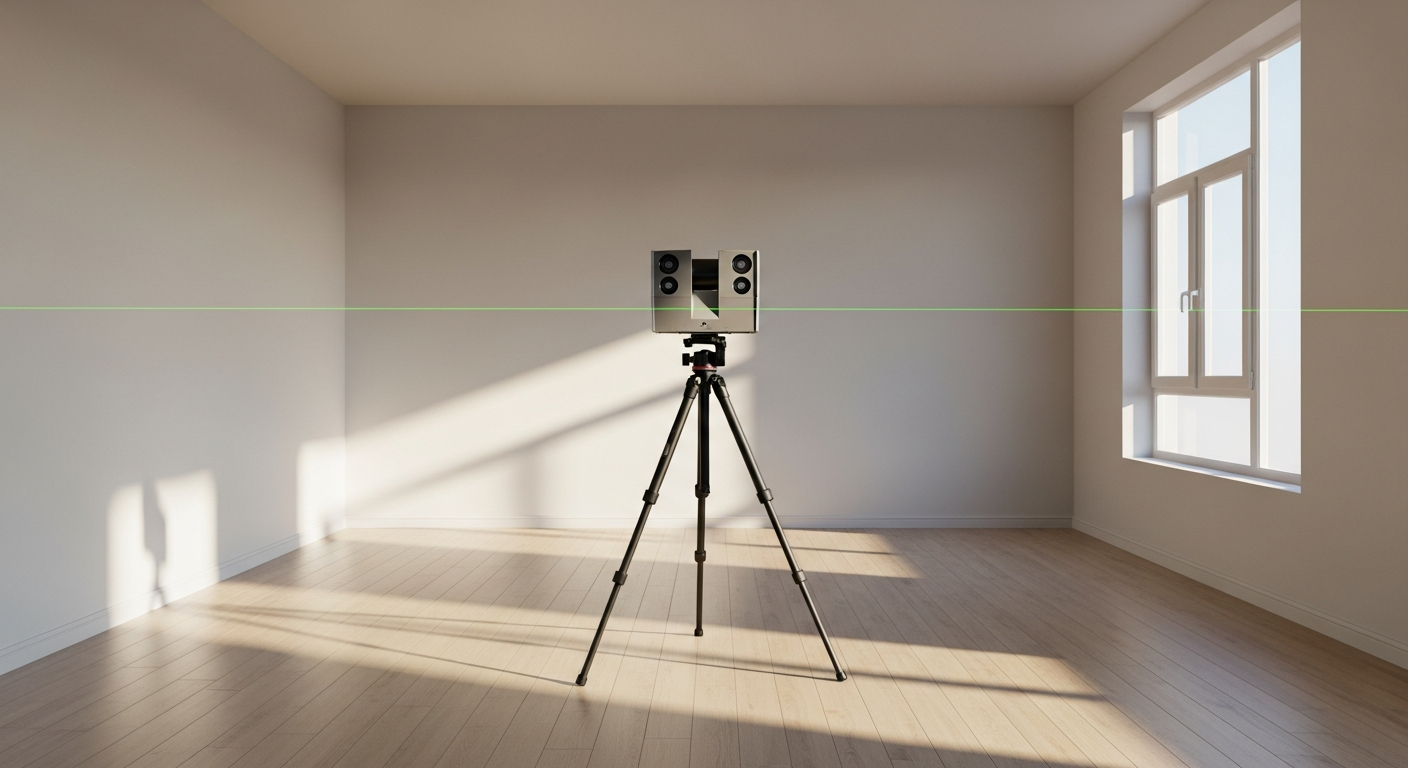
What the deliverables usually look like
The best format depends on who will use the information. A superintendent may prefer simple spot values and a clear sketch. An architect may need CAD elevations tied to room geometry. An engineer may want sections, profiles, and a method statement describing how the reference plane was established.
Typical deliverables include:
- 2D elevation drawings with dimensions to out-of-plumb points
- Vertical sections at selected intervals
- Color deviation heat maps overlaid on wall surfaces
- Point cloud files for consultant review
- PDF reports summarizing methods and findings
- DWG backgrounds for design coordination
For procurement teams and RFP writers, it is wise to specify the intended use. A shop-drawing coordination package may need denser reporting than a preliminary due-diligence survey. If your team is weighing whether scan-based outputs are suitable for formal project use, review whether 3d scanning is accurate enough for permits before writing the scope.
Accuracy, tolerance, and how to read the results
Accuracy is not the same as tolerance. Accuracy refers to how closely the measurement reflects actual field conditions. Tolerance is the allowed variation for the material, assembly, or project requirement. A wall can be measured accurately and still fall outside tolerance. Or it can look problematic but remain within the specified range for that system.
That is why a wall plumb survey should not be read in isolation. The results need to be interpreted against:
- The wall type and substrate
- The finish or system being attached to it
- Project specifications or trade standards
- Whether the survey covers a finished surface or structural element
- The intended downstream use, such as fabrication or forensic review
On older California buildings, another common issue is stacked tolerances. Floors may slope slightly, ceilings may not be level, and walls may lean a little. Each condition may be manageable alone, but together they can affect door clearances, panel joints, bathroom layouts, and built-in casework. A good survey helps the team see those relationships early.
If the project depends on scan-derived dimensions, it is also worth understanding how accurate 3d laser scanning can be for as-builts. The right takeaway is not that scanning removes judgment; it provides a stronger factual basis for judgment.
California project scenarios where plumb surveys add value
Wall plumb analysis comes up in a wide range of California work, from older apartment stock to office repositioning and seismic retrofit follow-on improvements. The reasons vary, but the pattern is the same: existing conditions influence scope, cost, and schedule.
Examples include:
- Tenant improvements: Before new partitions, storefronts, or millwork are fabricated, scan-based verification can reduce surprises inside older shells.
- ADUs and SB 9 projects: Existing garages, side-yard walls, and conversion spaces may not be as square or plumb as assumed. Where existing structures are reused, measured conditions help the design team plan realistic details. Since local interpretation can vary, always confirm SB 9 and related residential rules with the city or county handling the permit.
- Historic and legacy buildings: Walls may have long-term movement, multiple finish layers, or irregular substrates that make spot checks misleading.
- Multifamily maintenance and repairs: In some cases, visible wall movement may relate to broader building-envelope or balcony concerns. If a project intersects with California inspection laws such as SB 721 or SB 326, confirm the exact compliance requirements with the local jurisdiction and the responsible design professional.
- Energy and envelope upgrades: Existing walls that are out of plane can affect window replacement, rainscreen attachment, and detailing needed to meet code goals, including Title 24 considerations. Code application depends on the scope and local enforcement, so confirm project-specific requirements with the authority having jurisdiction.
The survey itself does not replace engineering or code review. It gives those teams measured existing conditions so they can make better decisions.
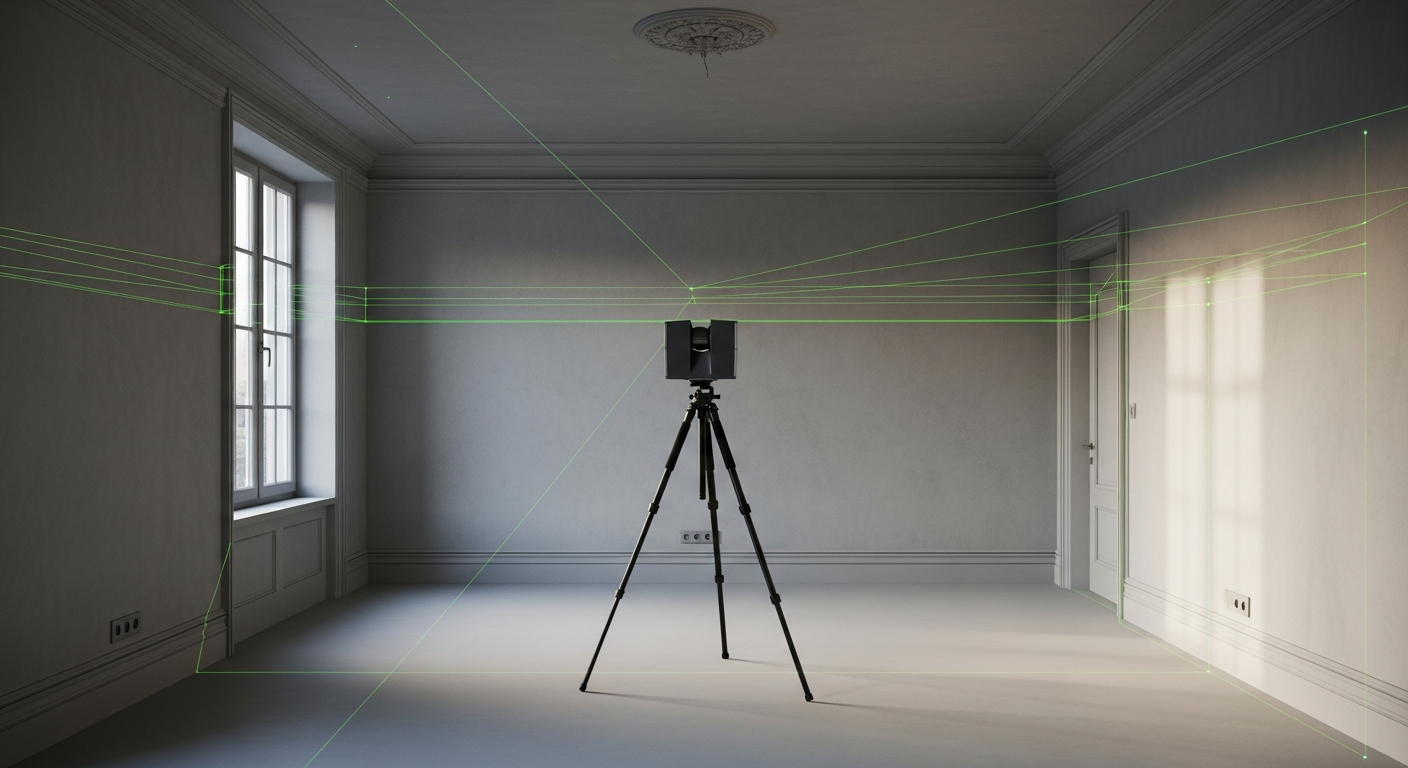
How to write a better wall plumb survey scope for an RFP
Technical searchers often need more than a definition; they need scope language that will generate useful proposals. A vague request can lead to mismatched expectations, incomplete field coverage, or deliverables that do not support the next phase.
When preparing an RFP, include:
- The building address, wall locations, and approximate wall heights and lengths
- Whether interior, exterior, or both are included
- The wall material and whether the measured surface is finish or structure
- Known access limitations, occupied hours, and safety requirements
- Required method, if any, such as total station or 3d laser scanning
- Coordinate system or control requirements, if the data must align with other survey information
- Required deliverables: PDF report, DWG, sections, heat maps, point cloud, or 3D model
- Reporting interval and acceptance criteria, if defined by the project team
- Intended use: renovation design, fabrication, claims support, or structural review
It can also help to ask bidders how they handle obstructions, reflective surfaces, inaccessible areas, and quality control. If the project may expand from a wall survey into broader existing-condition documentation, providers familiar with 3d laser scanning for buildings can often scale the work more efficiently.
Frequently asked questions
Is a wall plumb survey the same as a structural inspection?
No. A wall plumb survey measures geometry and deviation from vertical. It shows what the wall is doing, not necessarily why it is doing it. If the results suggest movement, distress, or safety concerns, a licensed structural engineer should interpret the findings and advise on next steps.
When is 3d laser scanning better than manual spot checks?
Scanning is usually better when the wall area is large, access is difficult, the geometry is irregular, or multiple stakeholders need to review the same conditions later. Manual checks can work for a very limited area, but they may miss local deviations between measured points. Scan data offers more complete coverage and stronger documentation.
Can a wall plumb survey be turned into as-built drawings?
Yes, often. If the field capture covers the broader space, the same dataset can support measured floor plans, elevations, sections, and other as-built documents. FastAsBuilt regularly converts field-measured conditions into permit-ready CAD files in PDF and DWG format for projects across California.
Will the survey tell whether a wall is within code?
Not by itself. The survey provides measured conditions. Compliance depends on the applicable code, the wall type, the scope of work, and local interpretation. In California, confirm project-specific requirements with the authority having jurisdiction and the licensed professionals responsible for design and engineering.
What should be included in the final deliverable?
At minimum, the deliverable should identify the measured wall areas, the reference used for plumb, the method of measurement, and the reported deviations. Depending on the use case, it may also need elevations, sections, heat maps, tabulated offsets, CAD files, or a point cloud for consultant review.
Start with accurate as-builts
Order field-measured 2D or 3D as-built drawings and let a local crew handle the measuring and drafting.
Get instant pricingBottom line
A wall plumb survey is most valuable when it does more than confirm a hunch. It should give you clear, usable information about how a wall actually sits in space, where the critical deviations occur, and how those conditions affect design, fabrication, repair, or permitting. For California projects, especially remodels and existing buildings with imperfect geometry, scan-based reality capture can provide a faster and more complete basis for decision-making than scattered manual spot checks. When you need permit-ready existing-condition drawings alongside deviation analysis, FastAsBuilt can document the site with on-site laser measurement and deliver coordinated CAD files your team can work from with confidence.