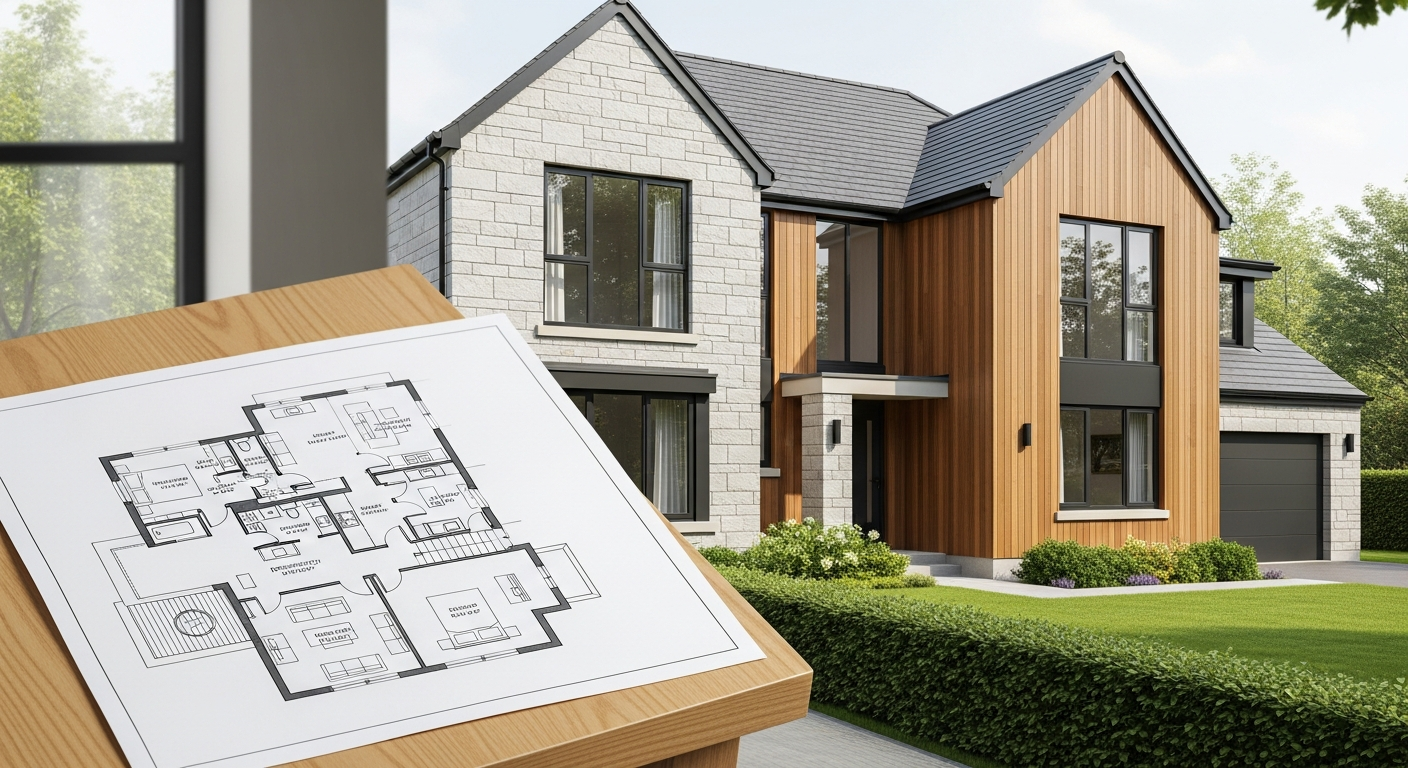
If you need to measure a house for a floor plan, the goal is simple: capture the layout, room sizes, wall lengths, openings, and key features clearly enough that the plan can be drawn accurately. That sounds straightforward, but small measuring mistakes can turn into crooked walls, missing offsets, and square footage that does not add up. Whether you are planning a remodel, preparing a real estate listing, verifying what you bought, or gathering information for permits, a good measuring process saves time later.
This guide explains a practical DIY method to measure a house, what to write down while you work, and when it is smarter to bring in a professional. For many owners, a hand-measured sketch is enough for early planning. For permit submissions, design work, or situations where accuracy matters, professional as-built drawings are usually the safer path.
Start with the right goal for your floor plan
Before you pick up a tape measure, decide how the floor plan will be used. The level of detail you need depends on the job. A casual DIY floor plan for furniture layout is very different from a permit-ready drawing package.
- Basic planning: room sizes, door swings, major windows, and overall layout may be enough.
- Real estate marketing: you usually want a clean, legible plan with dimensions that match the home reasonably well. You may also want to confirm area with a method like the one explained in how to find the square footage of a house.
- Remodel or contractor pricing: you should capture wall offsets, ceiling changes, built-ins, stairs, and major plumbing locations.
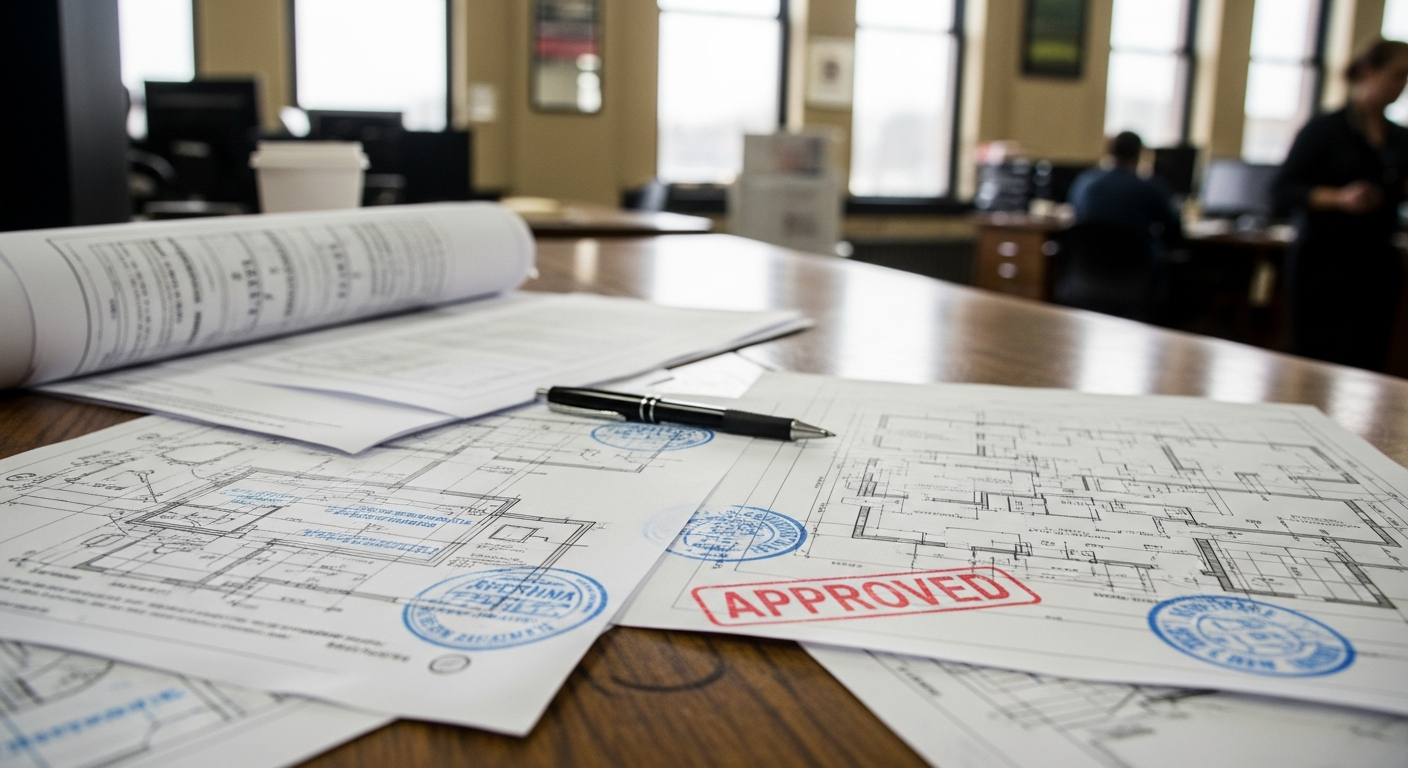
- Permit or architectural design: accuracy becomes much more important, and professional measured drawings are often the best choice. FastAsBuilt produces field-measured plans in CAD for projects across California.
Set the goal first because it affects how much detail you need, how much time to budget, and whether DIY measurement is realistic.
Gather tools before you measure a house
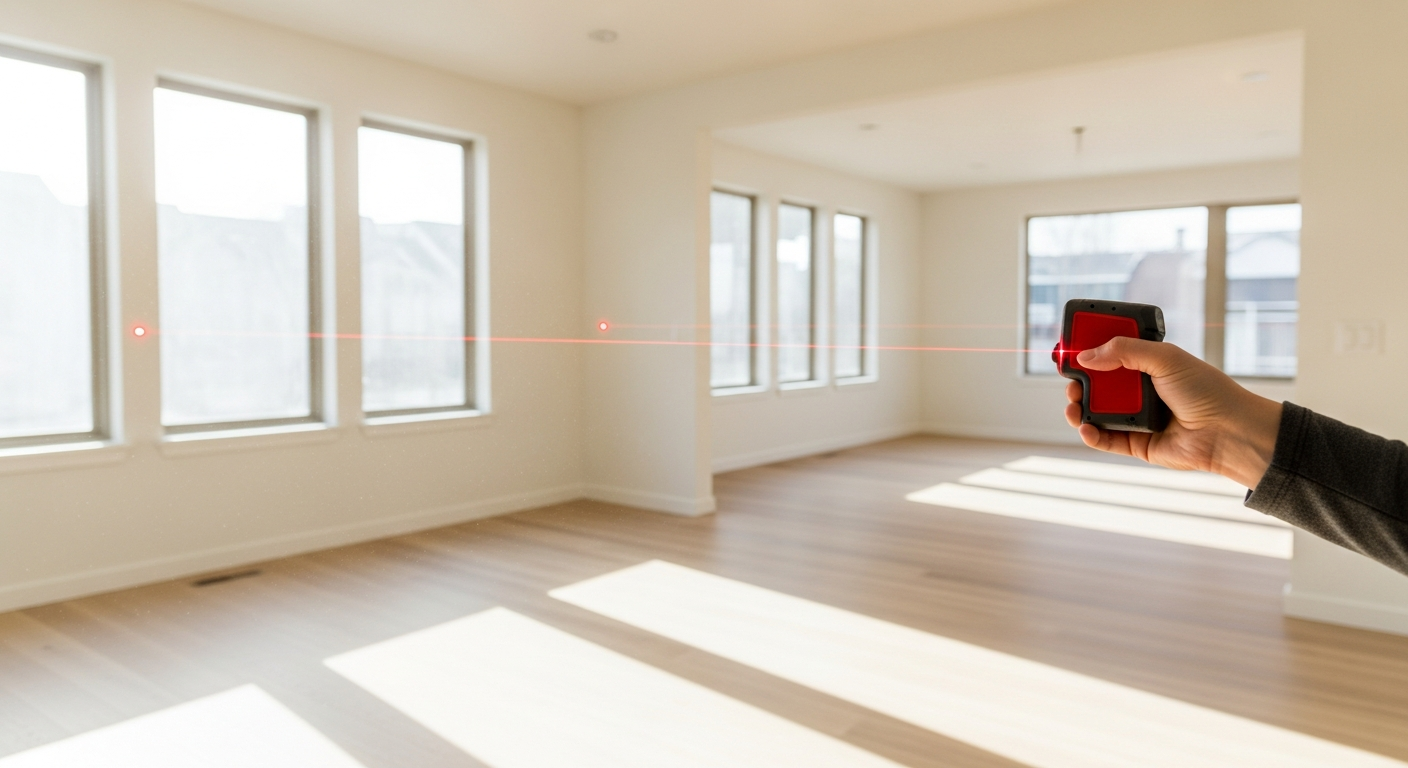
You do not need a truck full of equipment to measure for plan work, but you do need a consistent setup. Good tools reduce transcription errors and help you move through the house efficiently.
- Laser distance measurer for faster interior dimensions
- 25-foot or 30-foot tape measure for checks and short spans
- Clipboard with graph paper or printed blank floor plan sheets
- Pencils and an eraser
- Notebook for extra notes
- Phone or camera for reference photos
- Masking tape or sticky notes to label rooms if needed
If the house has multiple levels, print a separate sheet for each floor. Draw your own rough shell sketch before measuring. The sketch does not need to be pretty. It just needs to leave enough room to write dimensions clearly. Many DIY plans fail because the field notes are messy, not because the measuring itself was difficult.
Take photos in every room and from hallways looking into connecting spaces. Those images are extremely helpful later when you are trying to remember where a closet door sat or whether a window was centered.
Measure the exterior shape first
The easiest way to measure a house for a floor plan is to start with the outside, then move inside. The exterior gives you the overall footprint and helps you catch errors when interior wall dimensions do not reconcile.
Walk around the home and sketch the exterior outline as a series of straight segments. Many houses are not simple rectangles. They may include:
- Bump-outs
- Recessed entries
- Attached garages
- Bay windows
- Covered patios or porches
- Irregular side yards that make measuring one wall at a time easier
Measure each exterior wall segment and write the number directly beside the matching line on your sketch. If one long wall has jogs or offsets, break it into smaller parts instead of trying to record one confusing dimension. Note which areas are conditioned living space and which are garage, porch, or other non-living areas.
For a simple single-story house, exterior measurements may be enough to establish the footprint. For a two-story house, check whether the upper floor aligns with the ground floor or overhangs in places. These conditions matter when a floor plan is turned into formal drawings.
Need accurate as-built plans?
FastAsBuilt sends a local crew to laser-measure your property and delivers permit-ready 2D or 3D drawings, starting at $900.
See 2D & 3D pricingCreate a room-by-room measuring sequence
Once the exterior is documented, move inside and follow the same order for every room. A repeatable sequence helps prevent missed information. Start at the entry and work clockwise through the floor. Then do the next level in the same pattern.
A simple room sequence
- Measure the main room length and width
- Measure each closet or alcove separately
- Record door widths and swing direction
- Record window widths and general placement
- Note built-ins, kitchen islands, tubs, showers, and major fixtures
- Identify ceiling height changes, steps, or dropped areas
For rectangular rooms, you can often capture the essentials with two overall dimensions plus doors and windows. For irregular rooms, break the space into smaller rectangles. If a wall steps in or out, note each segment. If you cannot describe the room clearly with one dimension string, add a second string from another direction.
Stairs deserve extra attention. Note the stair width, direction of travel, landings, and where the stair begins and ends relative to adjacent walls. Kitchens and bathrooms also need more detail than bedrooms because future design work often depends on fixture locations.
If your purpose is early planning only, you may stop at basic room dimensions. If your purpose is a renovation, collect more information than you think you need.
Record dimensions in a way that can actually be drafted
Many people measure a house successfully but record the information in a way that is hard to turn into a floor plan later. Your notes should allow someone else to understand the layout without standing in the house.
Use these habits:
- Write dimensions parallel to the wall they describe
- Keep numbers outside the room sketch when possible
- Use consistent units throughout the whole project
- Label each room clearly
- Mark openings as doors, windows, cased openings, or sliders
- Use arrows or short notes to identify odd conditions
Dimension strings are especially useful. For example, on one wall you might record corner to window, window width, window to corner. That tells the drafter both the opening size and its location. The same logic works for doors and closet openings.
Also note wall thickness when it is obvious or when you can verify it. Interior walls are not all the same, and older California homes can include additions or altered partitions that do not follow one standard thickness. If you want to understand what a professional package includes, see what is included in as-built drawings.
Check for the mistakes that throw off DIY plans
The most common errors happen when measurements are taken quickly and not checked against the full layout. A floor plan can look fine on paper but still be wrong in ways that matter later.
- Missing offsets: small wall jogs are easy to overlook and can distort the room shape.
- Wrong opening locations: a window measured correctly but placed incorrectly along the wall is still a drafting problem.
- Unclear references: if you do not note where a dimension starts and ends, it may be useless later.
- Not reconciling totals: interior dimensions should broadly make sense against the exterior footprint.
- Skipping photos: photos often solve note-taking gaps after the fact.
- Mixing living and non-living area: garages and covered outdoor spaces should not be lumped in casually.
A good self-check is to add dimension segments along a wall and compare them to the overall wall length. If they do not match, revisit that area before leaving. Another smart check is diagonal measurement in larger rectangular rooms. If the diagonals differ more than expected, the room may not be square or one of your numbers may be off.
When your goal includes valuation, listing, or appraisal support, careful verification matters. These related guides may help: how to verify the square footage of a home and how to get accurate square footage for an appraisal.
Know when DIY is enough and when a pro is better
A DIY floor plan is often enough when you want to understand the layout, compare furniture options, or begin very early design conversations. It is also useful when you simply want a rough record of a small condo or straightforward single-story house.
Professional measurement is usually the better choice when:
- You need permit-ready CAD drawings
- The house has additions, complex geometry, or level changes
- You are planning an ADU, SB9 project, or tenant improvement
- You need a reliable base for architects, engineers, or contractors
- You do not want to spend hours measuring, checking, and redrawing
FastAsBuilt uses on-site laser measurement, then senior drafters prepare CAD files delivered in PDF and DWG formats. For many California property owners, that workflow removes uncertainty and speeds up the next step. If you need background on the process, see how as-built drawings are made.
For straightforward residential work, 2D as-built plans start at $900 for up to 1,500 square feet, then $0.50 per square foot, with one revision and typical 48–72 hour delivery. 3D as-built plans start at $1,500, then $1.00 per square foot, and include a 3D model plus 2D floor plans, elevations, and sections, with two revisions and typical 3–5 business day delivery. You can review options or start an order at our packages page.
Turnaround times are estimates and may vary based on project complexity and scheduling.
How to organize your notes into a usable floor plan
After measuring, transfer your field notes into a clean sketch or software file as soon as possible. Waiting too long makes it harder to remember what your symbols meant. Start by drawing the exterior footprint to scale, then place interior walls, doors, and windows.
If you are making a DIY floor plan, keep the layout clear and simple. Include:
- Room names
- Main dimensions
- Door swings
- Window locations
- Stairs
- Basic fixed fixtures in kitchens and baths
Do not overload the drawing with every note you took in the field. Separate rough notes from the final readable plan. If your measurements start to conflict while drafting, return to your photos and compare interior and exterior totals. It is normal to find one or two spots that need a second look.
If the plan will be shared with a designer or contractor, tell them whether dimensions were hand-measured or professionally field-verified. That context matters. A rough owner-generated sketch can be helpful, but it should not be confused with formal as-built documentation.
Frequently asked questions
What is the easiest way to measure a house for a floor plan?
The easiest method is to sketch the exterior first, then measure inside room by room in a consistent order. Use a laser measurer for main dimensions, a tape for checks, and take photos everywhere. Start simple: overall room sizes, doors, windows, and major features.
Should you measure from the inside or outside?
Ideally, both. Exterior measurements establish the overall footprint, while interior measurements define the room layout. Comparing the two helps you catch mistakes. If you can only do one, interior measurement may be enough for a rough DIY floor plan, but it gives you fewer ways to verify accuracy.
How accurate does a DIY floor plan need to be?
That depends on how you will use it. For furniture layout or general planning, close dimensions may be enough. For remodeling, square footage verification, permit work, or contractor pricing, accuracy matters much more. In those cases, professional field measurement is often worth it.
When should you hire a company to measure for plan drawings?
You should consider hiring a professional when the house is complex, time is limited, or the drawings need to support permits, design, or construction. FastAsBuilt provides field-measured as-built drawings across Southern California, the Bay Area, and San Diego, with custom quoting for commercial projects, ADUs, SB9 work, and tenant improvements.
Start with accurate as-builts
Order field-measured 2D or 3D as-built drawings and let a local crew handle the measuring and drafting.
Get instant pricingBottom line
If you want to measure a house for a floor plan, the best DIY approach is to work systematically: set your goal, sketch first, measure the exterior, move room by room, record openings and offsets clearly, and check your totals before you leave. That method can produce a useful planning document. When the plan needs to be accurate, shareable, or permit-ready, professional field-measured as-built drawings are the more dependable choice.