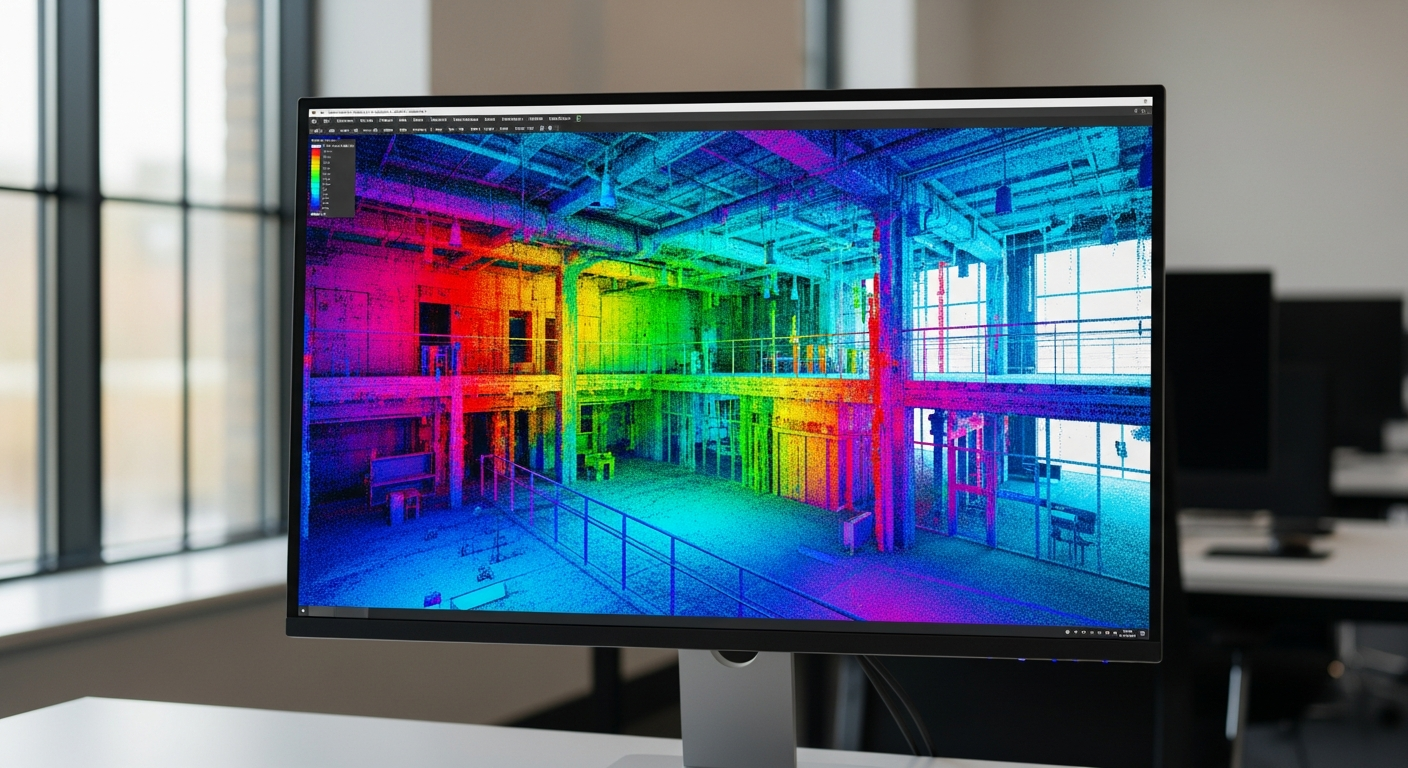
When buyers ask about scan to bim lod levels, they are usually trying to solve a practical problem: how detailed should the model be for the work ahead? That question matters because the right Level of Development can keep a project efficient, while the wrong one can create rework, cost overruns, and mismatched expectations between the owner, design team, and modeler.
In plain terms, LOD describes how much geometric detail and embedded information a BIM model element is expected to contain at a given stage. In a scan-to-BIM workflow, that means deciding how point cloud data or field measurements will be translated into usable model content. If you are preparing an RFP, reviewing consultant proposals, or comparing a 2D deliverable with a Revit model, it helps to understand the difference between LOD 200, 300, and 400 before you set the scope. FastAsBuilt supports measured as-built documentation across California, and while many projects begin with permit-ready CAD plans, some move into BIM when a model is the better fit for coordination, design, or facility planning.
What scan to BIM LOD levels actually mean
The phrase “level of development BIM” is often confused with simple model detail. Detail is part of it, but LOD is really about reliability and intended use. A model can look visually rich and still be unsuitable for a specific task if dimensions, alignment, or system relationships have not been developed to the right standard.
For scan-to-BIM, the starting point is usually existing-condition capture. That may come from laser scanning, point clouds, or measured field verification. The modeler then interprets the captured condition and builds model elements to the agreed LOD. The key point is that LOD should be tied to decisions the model must support, not just how polished the model appears.
- LOD 200 generally represents approximate geometry, quantity, size, shape, and location.
- LOD 300 generally represents specific geometry, size, shape, location, and orientation suitable for design coordination and documentation.
- LOD 400 generally represents fabrication- or installation-oriented detail for elements that need a much higher level of precision and constructability.
If you are new to the topic, it helps to first review what scan to BIM is and how it differs from basic drafting or redrawing.
Why LOD matters so much in an RFP
Technical buyers often include LOD language in an RFP because it creates a shared target. Without it, one team may expect room outlines and major walls, while another expects modeled doors, reflected ceiling elements, MEP routing, or equipment clearances. That disconnect is one of the most common reasons scan-to-BIM proposals vary so widely.
A clear LOD requirement helps define:
- Which building elements will be modeled
- How accurately elements must align to verified existing conditions
- Whether information fields are required in addition to geometry
- How the model will be used after delivery
- What exclusions apply, such as concealed systems or inaccessible spaces
For existing buildings in California, that clarity is especially valuable. Many projects involve tenant improvements, ADUs, SB9 lot-split or unit planning, historic properties, or permit submittals where teams need dependable existing-condition documentation before design can move forward. FastAsBuilt often starts these efforts with field-measured as-built drawings and measured floor plans, then coordinates model expectations when a BIM deliverable is required.
LOD is not the same as accuracy, tolerance, or completeness
One of the biggest misconceptions in scan to bim lod levels is assuming that a higher LOD automatically means a more accurate model. It does not. LOD describes development of model content; accuracy and tolerance describe how closely that content matches real-world conditions. Completeness is another separate issue and refers to whether all required elements are included.
For example, a project team might request LOD 300 walls, doors, and windows, but still need to define:
- Acceptable dimensional tolerance
- How to handle out-of-plumb walls or sloped floors
- Whether to model finishes, structure, or both
- What happens in areas blocked by furniture or active occupancy
- Whether above-ceiling systems are in scope
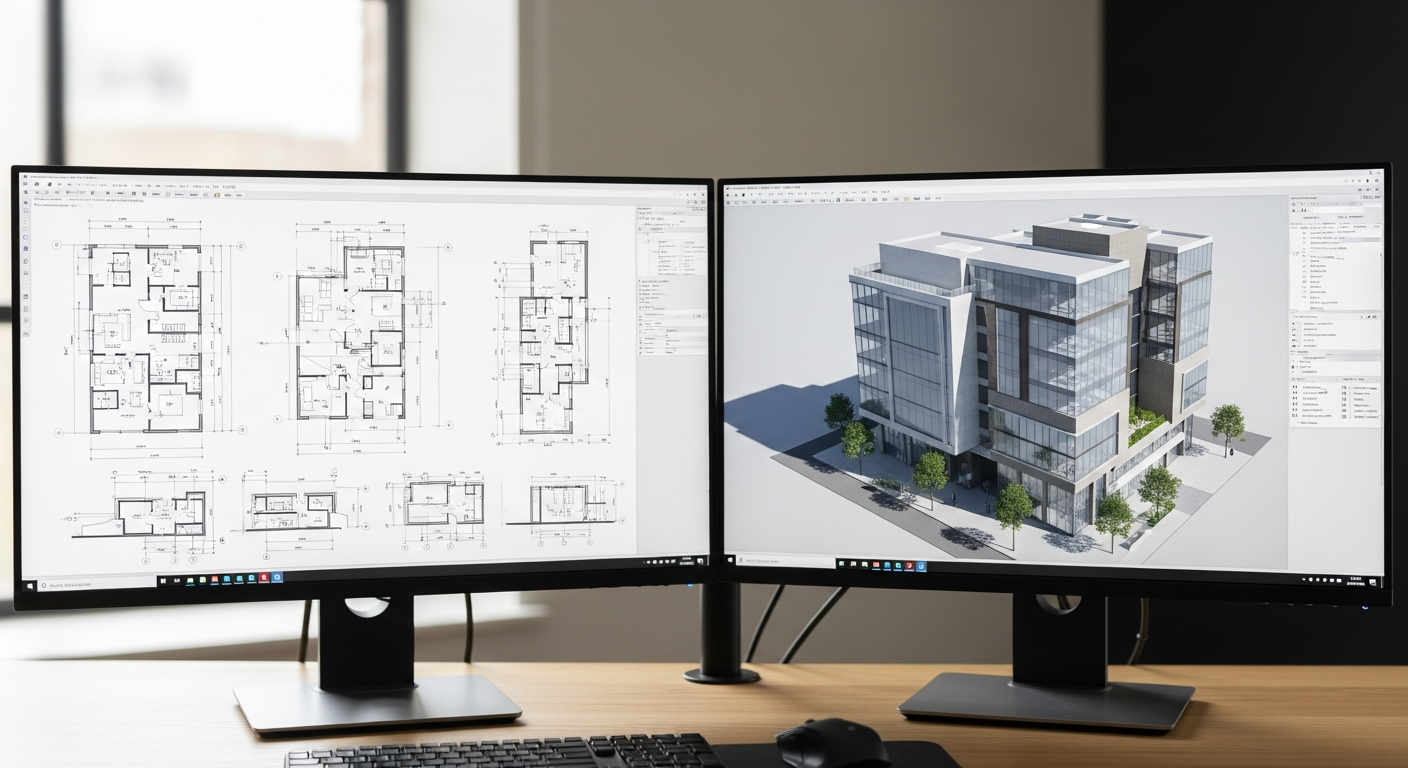
That is why a strong scope statement is more useful than a bare “deliver at LOD 300” instruction. A good BIM brief says what gets modeled, to what development level, for which use case, and with what assumptions. If your team is deciding between drafting and modeling, this comparison of CAD vs. BIM as-built drawings can help frame the choice.
LOD 200: when an approximate existing-condition model is enough
LOD 200 is commonly used early in planning, test fits, conceptual design, and broad space analysis. In an existing building context, it usually means major elements are represented with approximate geometry and placement rather than exact build-ready specificity. Think of it as a model that helps your team understand the building generally, not one that resolves every field condition.
A scan-to-BIM model at LOD 200 may include:
- Primary walls and room layouts
- Basic floor and roof planes
- Openings shown in approximate locations
- Major vertical circulation such as stairs
- General massing of key structural or architectural elements
What it usually does not include is the kind of precise development needed for clash-sensitive coordination, permit-level fit-out details, or fabrication. If your goal is simply to validate area, compare layout options, or provide a base for early programming, LOD 200 can be a reasonable fit.
For many California property owners, however, LOD 200 is too light for downstream permit and construction work. If the model will become the primary source for design decisions, teams often step up to a more developed scope.
LOD 300: the most requested level for existing-condition Revit models
When buyers mention a lod 300 revit model, they are usually asking for the sweet spot between practicality and usability. LOD 300 is often the most useful target for existing-condition BIM because it provides defined geometry, location, size, shape, and orientation that design teams can reference with more confidence.
In a scan-to-BIM context, LOD 300 typically supports:
- Architectural design development
- Permit drawing backgrounds
- Tenant improvement planning
- Coordination between disciplines
- More dependable quantity and space assessment
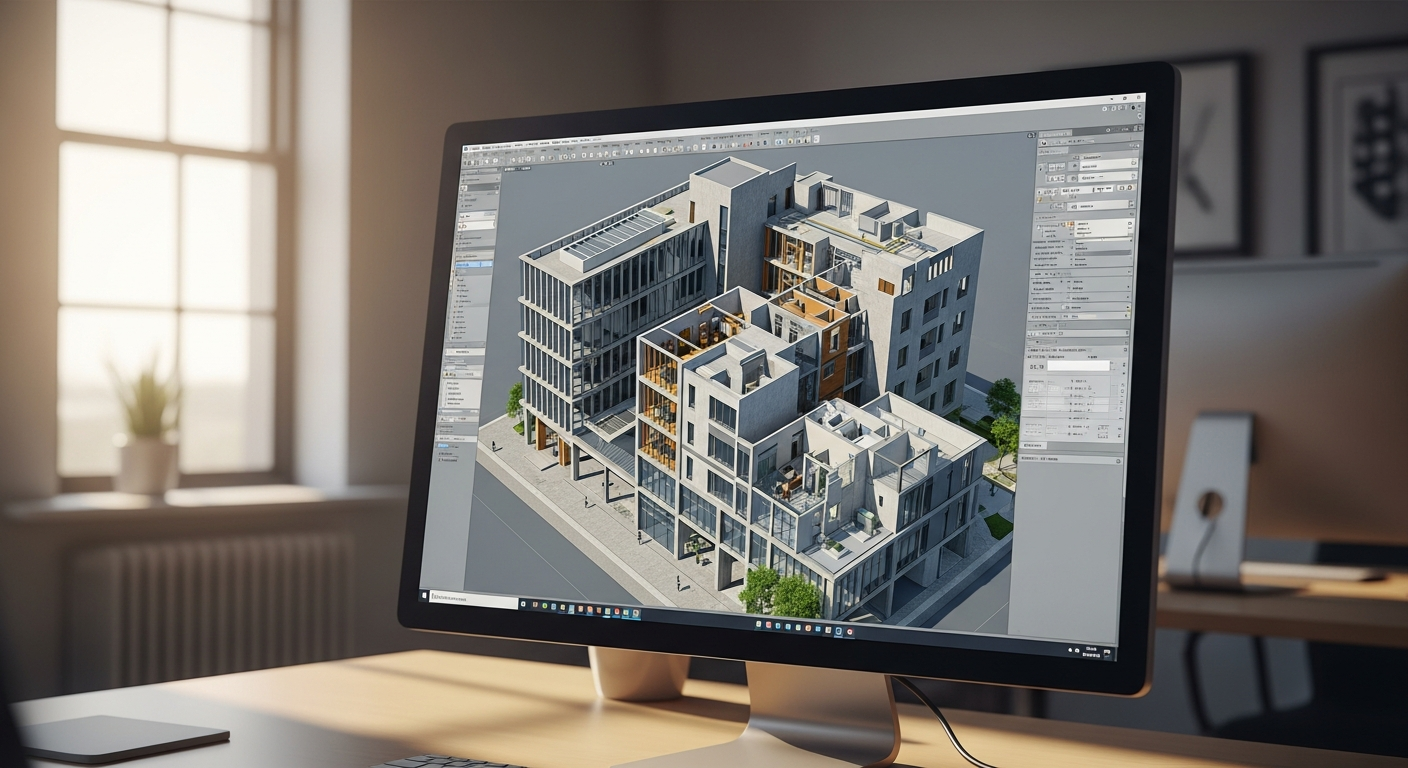
A typical LOD 300 architectural model may include walls, doors, windows, floors, ceilings, stairs, and key existing features located with specific intent rather than rough approximation. It can also include elevations and sections extracted from the model when required. Still, scope matters. “LOD 300” alone does not answer whether wall assemblies are modeled by core, finish face, or centerline; whether soffits and bulkheads are included; or whether every storefront mullion is represented.
For that reason, many teams pair LOD 300 with a model element matrix or room-by-room inclusion list. If a project really only needs permit-ready 2D documentation, that may be faster and more economical than a full BIM build. FastAsBuilt’s 2D As-Built Plans start at $900 for up to 1,500 square feet, then $0.50 per square foot, include one revision, and are typically delivered in 48 to 72 hours as PDF and DWG. For a model-based deliverable, project scope should be quoted individually.
Turnaround times are estimates and may vary based on project complexity and scheduling.
Need accurate as-built plans?
FastAsBuilt sends a local crew to laser-measure your property and delivers permit-ready 2D or 3D drawings, starting at $900.
See 2D & 3D pricingLOD 400: when the model must support fabrication or installation
LOD 400 is where many RFPs become over-scoped. This level is generally associated with fabrication-ready or installation-oriented model content. In an existing-conditions workflow, that usually means the model is being used for highly specific downstream tasks, not just documentation of the building as found.
Examples where LOD 400 may be appropriate include:
- Trade coordination tied closely to fabrication
- Complex prefabricated systems
- Specialty millwork or equipment integration
- Projects where installation sequencing depends on model precision
For many building surveys, requesting LOD 400 across the entire facility is unnecessary. It increases modeling time, raises review burden, and may still be inappropriate where parts of the building are concealed or inaccessible. Existing-condition capture can only confirm what is visible and measurable unless destructive investigation is added. If hidden framing, MEP routing, or embedded conditions matter, the scope should say how those will be verified instead of assuming they can be modeled accurately from surface observations alone.
In short, LOD 400 should be used selectively and intentionally. It is not a default upgrade from LOD 300; it is a different project need.
How to choose between LOD 200, 300, and 400
The best way to choose a level is to start with the use case, then work backward into model content. Ask what decisions the model must support six weeks after delivery, not just what sounds impressive in the procurement language.
Choose LOD 200 when:
- You need conceptual planning or early feasibility analysis
- The model is a study tool rather than a production base
- Approximate geometry is sufficient for your next step
Choose LOD 300 when:
- You need a dependable existing-condition design base
- The model will support coordination and permit-related work
- You want a practical balance between detail and cost
Choose LOD 400 when:
- Specific systems must support fabrication or installation logic
- The project team has clearly defined trade-level needs
- The model will be used beyond general design documentation
For many California renovation projects, LOD 300 is the most defensible specification. It gives architects, engineers, and owners a more useful base without committing the whole project to fabrication-level development where it may not belong. If your team is still evaluating outputs, you may also want to compare 2D vs. 3D as-built plans before selecting a final deliverable.
How scan-to-BIM scope should be written for existing buildings
A good scope does more than name an LOD. It tells the provider exactly what to model, what file format is required, and how to treat ambiguous conditions. This is especially important on occupied buildings, older California properties, and phased renovations where field access can be uneven.
Your scope should usually define:
- Building areas included and excluded
- Required disciplines: architectural, structural, MEP, or selected systems only
- Target authoring platform, such as Revit
- Required deliverables, such as native model, PDF sheets, exported DWG, elevations, or sections
- Element list by category and expected development level
- Assumptions for concealed, obstructed, or inaccessible conditions
- Any naming conventions, shared coordinates, or template requirements
If your consultant will work from scan data, you should also confirm the source files and handoff expectations. This guide to what an E57 file is can help if point cloud format is part of the discussion. If your procurement team mainly needs a Revit deliverable and not just 2D sheets, it also helps to review whether you can get as-built drawings in Revit.
California project considerations that can affect BIM scope
In California, existing-condition documentation often feeds into code, permit, and property-specific requirements that shape the right model scope. The model itself does not satisfy every compliance obligation, but good as-built information can reduce uncertainty before design and review.
For example, Title 24 energy compliance work may depend on accurate existing envelope, openings, and conditioned area assumptions. ADU and SB9 planning can depend on dependable existing layouts, setbacks, and conversion feasibility. Tenant improvements often need precise existing walls, exits, and accessibility-related conditions before the design team can finalize permit documents. Historic properties, including some Mills Act sites, may require careful documentation of existing architectural features before modifications are proposed.
Other California laws such as SB 721 and SB 326 relate to inspection and safety obligations for certain exterior elevated elements, while AB 2533, AB 1033, and SB 1211 can affect housing and unit-related planning at a general level depending on the project type and local implementation. The details can vary by jurisdiction and evolve over time, so you should always confirm current requirements with the local city or county, and with your design professional or code consultant where needed.
The practical takeaway is simple: when a model will support permit, code, or housing-related decisions, define the scope around those decisions. Do not assume a generic LOD label will cover the local review realities.
When 2D measured plans are the smarter choice
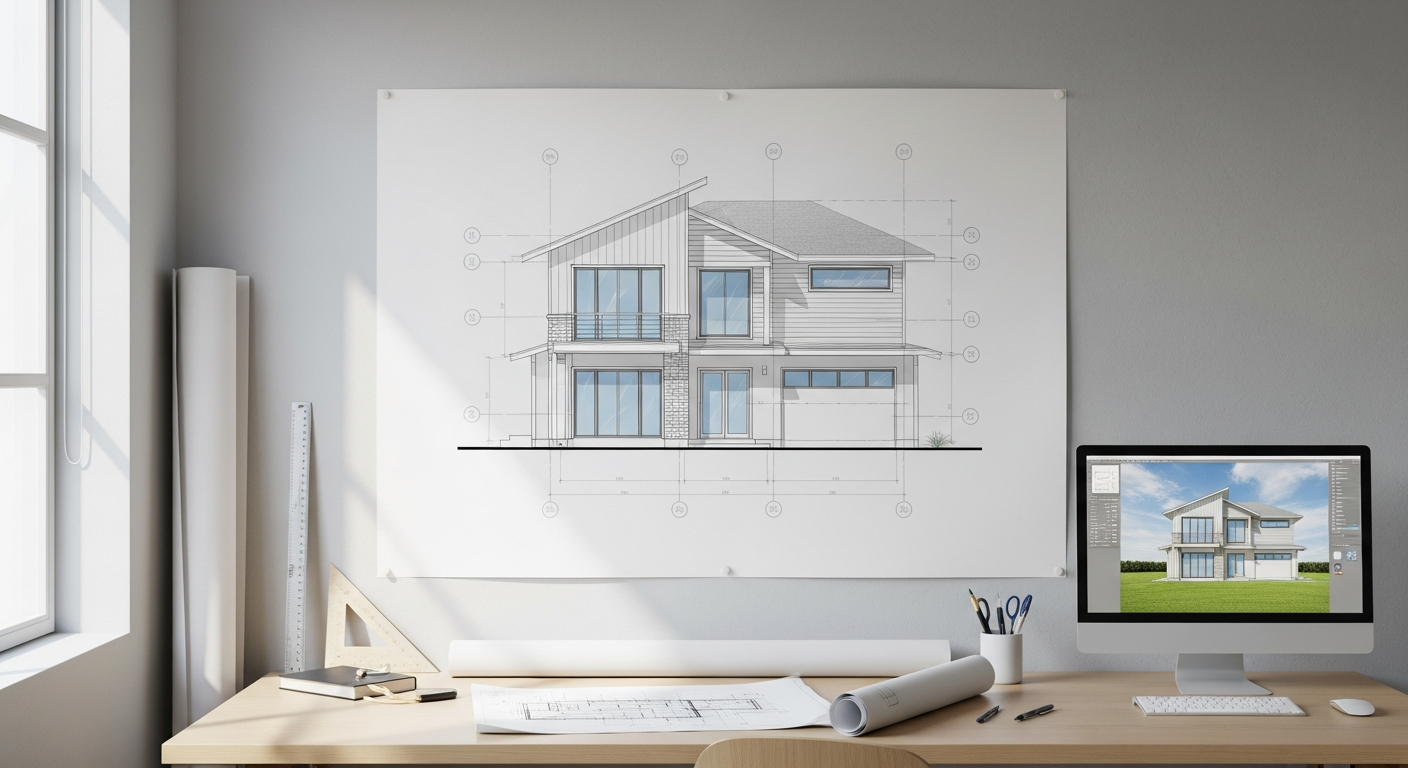
Not every project needs scan-to-BIM. In fact, many owners and architects simply need accurate existing-condition drawings in a permit-ready 2D format. For those jobs, measured floor plans can be the faster and more economical path.
FastAsBuilt provides field-measured as-built drawings and measured floor plans across California using on-site laser measurement and senior drafters who produce permit-ready CAD files in PDF and DWG. Local crews serve Los Angeles, Orange County, the Inland Empire, the Bay Area, and San Diego. If you need 3D as-built plans, FastAsBuilt also offers a package starting at $1,500, then $1.00 per square foot, including a 3D model plus 2D floor plans, elevations, and sections, with two revisions and typical delivery in 3 to 5 business days. Custom commercial, ADU, SB9, and tenant improvement projects are quoted individually.
If your next step is a permit application rather than full BIM coordination, review as-built drawings for building permits or go straight to place an order. Many teams start in 2D, then expand into BIM only where the extra model intelligence will actually be used.
Frequently asked questions
Is LOD 300 the same as a permit-ready model?
Not automatically. LOD 300 often provides a strong base for permit-related design work, but permit readiness depends on what is modeled, the quality of verification, and what the local jurisdiction requires. A permit submittal usually depends on the full drawing set, code analysis, and design scope — not the LOD label alone.
What should be included in a lod 300 revit model scope?
At minimum, identify the building areas, element categories, required file outputs, and assumptions for concealed conditions. You should also state whether walls are modeled to finish face or another reference, whether ceilings and soffits are included, and whether elevations or sections are required. The stronger the scope, the more comparable your proposals will be.
Does a higher level of development BIM always cost more?
Usually yes, because more development means more modeling time, more review, and tighter interpretation of field conditions. But cost should rise only where the higher development is actually useful. Requesting LOD 400 for everything can create unnecessary expense if your team only needs a design base.
Can scan-to-BIM show hidden systems behind walls or above ceilings?
Not reliably unless those conditions are exposed, documented separately, or verified through another investigation method. Surface scans and field measurements capture visible conditions. If hidden systems matter, the scope should explain how they will be confirmed and how unknowns should be represented in the model.
Should you choose 2D CAD or BIM for an existing building survey?
Choose 2D when you need clear permit-ready backgrounds, quick turnaround, and cost control. Choose BIM when the project will benefit from model-based coordination, 3D review, or structured building data. The right answer depends on how the deliverable will actually be used after handoff.
Start with accurate as-builts
Order field-measured 2D or 3D as-built drawings and let a local crew handle the measuring and drafting.
Get instant pricingBottom line
Scan to BIM LOD levels are most useful when they translate directly into project decisions. LOD 200 supports broad planning, LOD 300 is often the most practical existing-condition standard, and LOD 400 should be reserved for specific fabrication or installation needs. For California buyers writing RFPs, the best results come from pairing the LOD target with a clear element list, file requirement, and set of assumptions about visibility and access. Whether you need a measured 2D base or a more developed model, FastAsBuilt can help you define the right scope before unnecessary complexity gets built into the job.